
Blueberries with Acrylics

Lessons
About This Lesson Series...
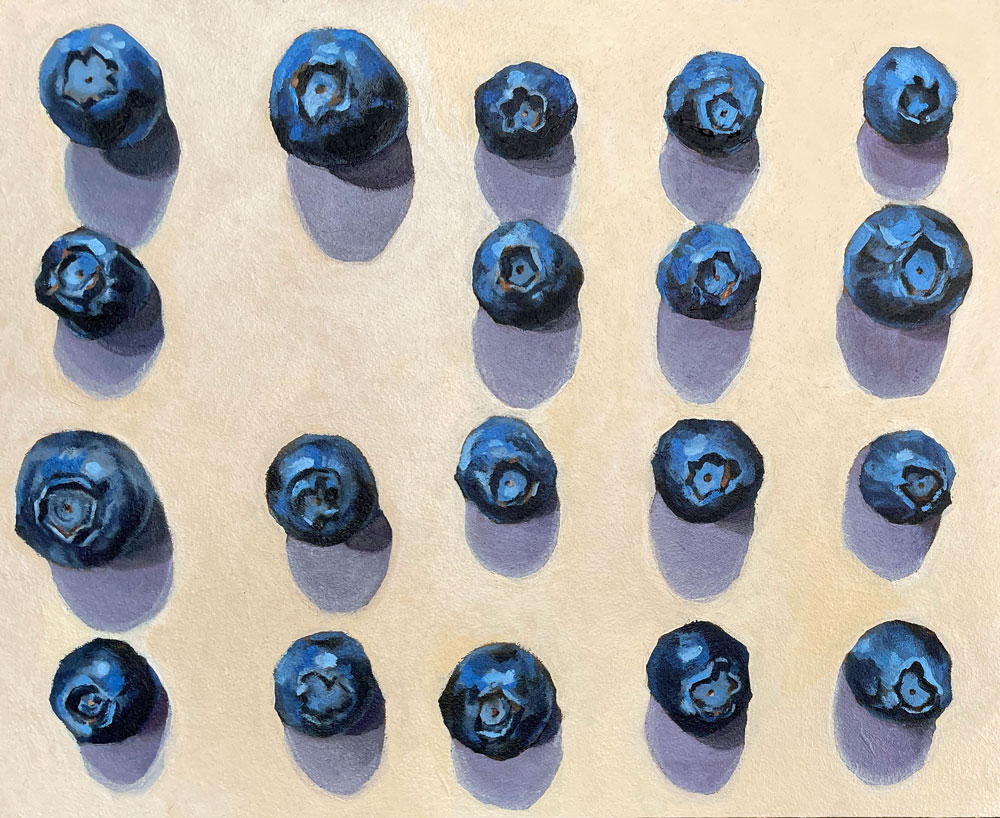
The Blueberries with Acrylics lesson series is a detailed and inspiring exploration of still life painting using acrylic paints on panel. In this series, students learn how to observe, plan, and execute a compelling composition featuring blueberries, mastering both foundational techniques and expressive approaches that make the subject visually engaging. Whether you are new to acrylics or seeking to strengthen your painting skills, this series offers clear, step-by-step instruction that builds confidence and deepens your understanding of color, value, and texture.
Lesson 1: Observing the Subject
The series begins with observation — learning to see more than just shapes and colors but the relationships between them. Before picking up a brush, students are guided through a careful study of the blueberry still life arrangement, noting light direction, subtle value changes, and how color shifts across surfaces. Emphasis is placed on understanding the visual structure of the blueberries, their reflections, and the way nearby objects influence color and light. This visual analysis forms the foundation for successful painting.
Lesson 2: Planning and Sketching
Once observation is complete, students learn how to plan their composition on an acrylic panel. A light sketch is applied using diluted paint or pencil to block in proportions, placement, and overall structure. This preparatory step ensures that elements are balanced and correctly positioned before paint is added. Students are encouraged to simplify complex shapes into easily manageable forms, which reduces early painting errors and sets the stage for success.
Lesson 3: Underpainting and Value Blocking
In the third lesson, students establish the underpainting using diluted acrylics. Here, light, midtone, and dark values are blocked in to create a value framework for the painting. This underpainting functions like a roadmap, guiding later color decisions and helping maintain clarity throughout the process. Value relationships are reinforced, allowing students to think in tonal terms first — an essential skill for realistic work with acrylics.
Lesson 4: Building Color and Texture
With the value structure in place, students begin applying richer, more opaque layers of acrylic color. This lesson focuses on mixing believable blueberry hues, capturing subtle transitions between cool and warm tones, and integrating nearby reflections. Techniques such as controlled brushwork, glazing, and layering help develop surface texture and depth. Students also explore how to suggest details like the soft bloom on the berry surface and gentle skin reflections.
Lesson 5: Refining and Unifying the Painting
In the final lesson, attention turns to refinement and unity. Students learn how to enhance focal areas, adjust contrast, and unify colors to create a cohesive composition. Final touches include sharpening edges where necessary, defining highlights, and making thoughtful adjustments that elevate the painting from a study to a finished artwork. The instructor demonstrates how subtle refinements can dramatically improve clarity and visual impact.
A Complete Acrylic Still Life Experience
By the end of the Blueberries with Acrylics series, students will have a richly developed still life painting and a deeper understanding of acrylic techniques applicable to many subjects. This series emphasizes observation, value, color harmony, and expressive use of acrylic paint, providing a solid foundation for future painting projects.
Resources for this Lesson...
Distributing any content downloaded from this site is strictly prohibited and against the terms and conditions of use.
References
Here's what you'll need...
- Acrylic Paint
- Nylon Brushes
- Graphite Pencil
(Disclosure: Links to art materials are affiliate links which means we make a small commission if you purchase at no additional cost to you.)

Founder of The Virtual Instructor, artist and teacher. Matt makes learning art easy to understand and enjoyable.
what kind of paper are we using?
Hi from Palma Mallorca
I use a palette called a Majello palette,put a wet paper towel in the middle and it stays wet for over a month as long as the paper towel stays wet! Sometimes they mold!
You are missing a blueberrie
Hi, is there any chance of listing the exact colors used up front? I’ve just started watching and you mentioned not knowing which colors you will use but I am the type of person that needs to have my supplies all ready to go prior to starting. I would greatly appreciate this info. Thanks.
Cindy