
Charcoal Landscape Drawing - Winding Road
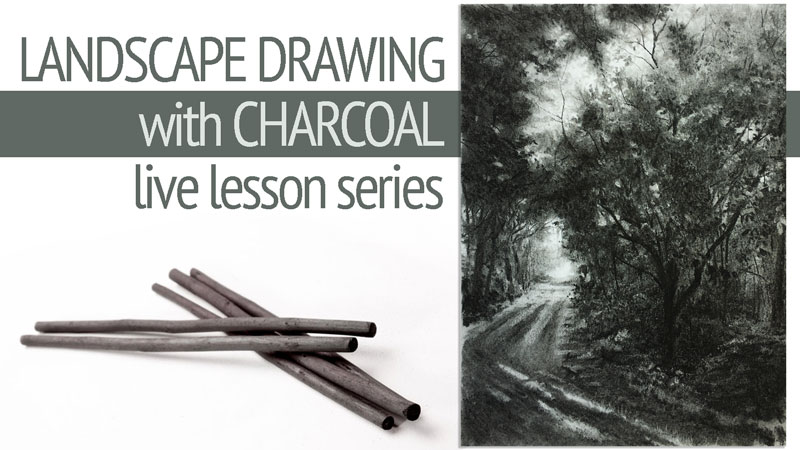

About This Lesson Series...
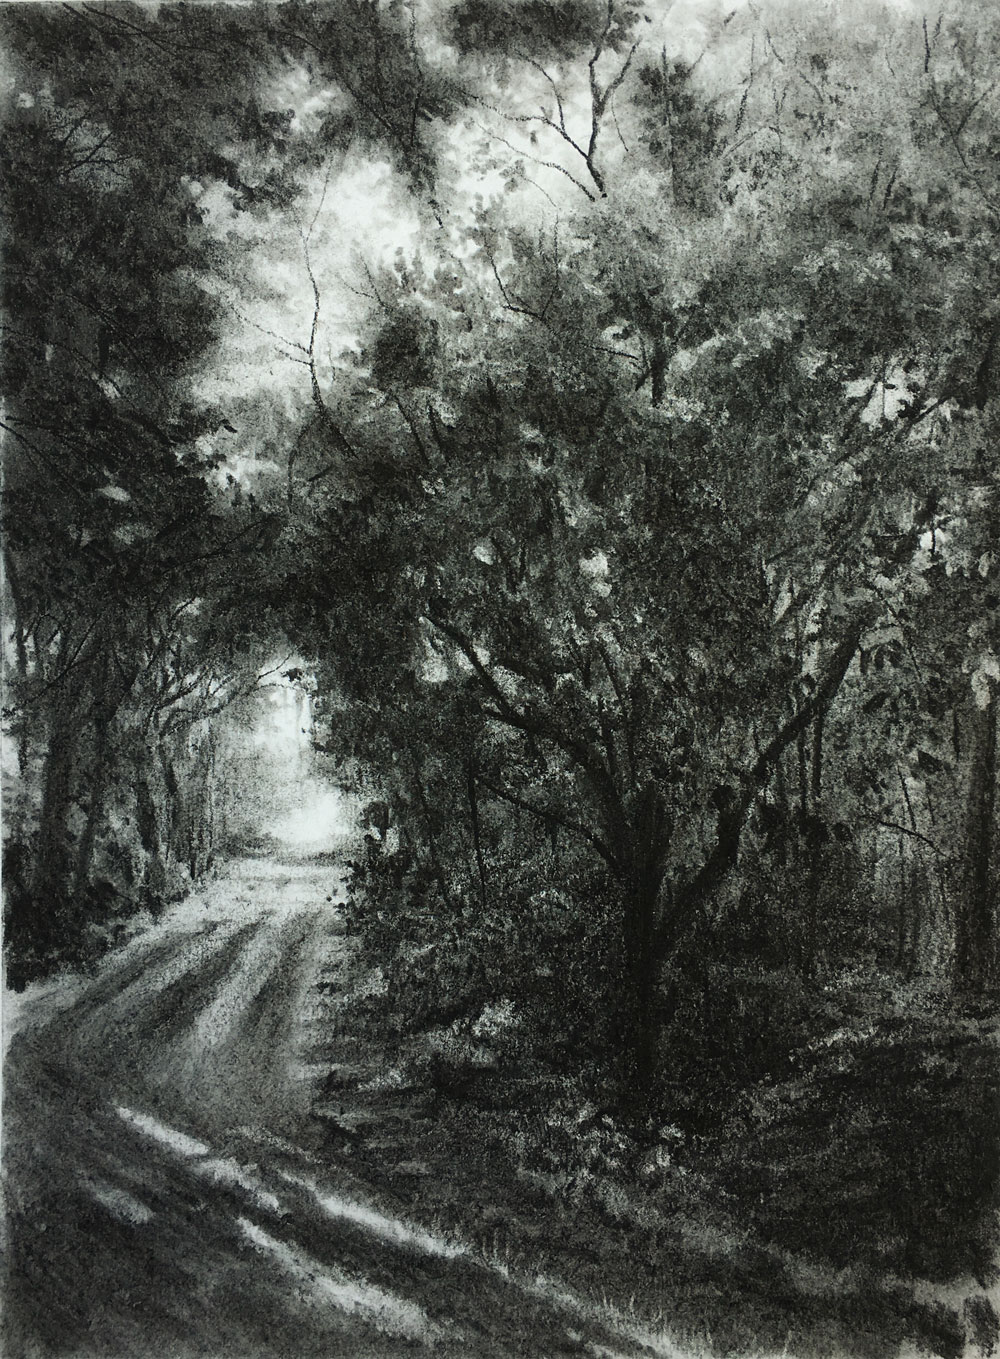
In this immersive lesson series, Matt leads students through the creation of a captivating charcoal landscape featuring a winding road as it moves through a grouping of trees. Working on white drawing paper, this class focuses on developing strong foundational drawing skills while exploring the expressive qualities of charcoal. With a clear, step-by-step approach, students learn how to transform a simple landscape into a dynamic and atmospheric work of art.
Building a Strong Foundation Through Observation
The series begins with careful observation of the landscape. Before making marks on the paper, students are encouraged to analyze the scene—paying close attention to value relationships, the direction of light, and how forms overlap in space. This process helps break down the complexity of the subject into manageable shapes, making it easier to approach the drawing with confidence.
Matt demonstrates how to simplify the winding road, trees, and surrounding elements into basic forms, ensuring that the composition is both balanced and visually engaging from the start.
Mapping the Composition with Confidence
Once the subject is understood, students begin laying out the drawing using light applications of vine charcoal. This stage focuses on mapping the major shapes and establishing proportion without committing to dark values too early. By keeping the marks loose and adjustable, students can refine placement and composition before moving into more developed stages. :contentReference[oaicite:1]{index=1}
This approach encourages flexibility and reduces the pressure of getting everything perfect on the first pass, allowing the drawing to evolve naturally.
Developing Value and Creating Depth
With the structure in place, the focus shifts to building a full range of values. Using both vine and compressed charcoal, students learn how to layer tones to create contrast and define form. Darker values are used to bring elements forward, while lighter, softer applications suggest distance and atmosphere.
Special attention is given to how the winding road leads the viewer’s eye into the composition, creating a strong sense of depth and movement. Through careful control of value, students develop a convincing illusion of space within the landscape.
Using Erasers as Creative Tools
One of the most exciting aspects of working with charcoal is the ability to draw with both addition and subtraction. In this series, Matt demonstrates how erasers can be used not just for correction, but as essential drawing tools. By lifting charcoal from the surface, students create highlights, define edges, and add subtle light effects throughout the scene.
This subtractive approach is especially effective when rendering light filtering through trees or catching the edges of the road, adding realism and visual interest to the drawing.
Refining Details and Unifying the Drawing
As the drawing nears completion, attention turns to refining details and strengthening the overall composition. Students learn how to sharpen key areas, soften less important edges, and adjust values to ensure balance across the entire image. This stage is crucial for creating a cohesive and polished final piece.
Matt also emphasizes knowing when to stop—avoiding overworking the drawing while preserving the freshness and energy that charcoal naturally provides.
Develop Confidence with Charcoal Landscapes
This lesson series is ideal for artists looking to improve their skills in landscape drawing while gaining a deeper understanding of charcoal techniques. By the end of the class, students will have completed a compelling drawing of a winding road through trees and developed a stronger grasp of value, composition, and mark-making.
Whether you are new to charcoal or looking to refine your approach, this class offers the tools and guidance needed to create expressive, dimensional landscapes with confidence.
Here's what you'll need...
- Vine charcoal
- White pastel paper
- Charcoal pencils
- Compressed charcoal
- Kneaded eraser
- Blending stumps

Founder of The Virtual Instructor, artist and teacher. Matt makes learning art easy to understand and enjoyable.
Hi Matt,
I acquired a lot of my art supplies when a local art teacher retired. I have a selection of charcoal material but am unsure of what I have. The vine charcoal is easy to identify and so are the charcoal pencils but I have multiple pieces of charcoal that are difficult to determine what they are. One box contains 3 black square charcoal pieces and one white that is the same shape but there is nothing to tell any more. I seem to get a fine dark line. There is one box which contains 15 pieces of a medium soft about the diameter and size of a pencil. Then I have a mishmash box that seems to contain the broken pieces of several varieties of charcoal. I know I am probably asking the impossible but is there any way to determine what I have. I am intrigued with this latest live lesson on charcoal and would like to give it a try.
Thanks, Gail
Photo 3 is my choice
hi matt,
i followed along with you.my vine is not staying on the pastel paper….do you suppose it is just old?
iam smudging with my finger…
thanks!
raquel
oh….i vote # 1…so glad it won….
raquel
*1
wow the drawing is much more beautiful than the reference picture! Love it !
Thanks Sumana!
Great insights on the use of vine charcoal, Matt. Thank you for your love for teaching. We all benefit from your knowledge and dedication
We couldn’t see the reference photo. Did no one say anything?
Love the live lesson Matt. I’ve only just joined and this is the first ‘live’ lesson I’ve taken part in. Really enjoyed drawing whilst following you. I’m guessing you’re on Eastern Standard Time and as I’m in five hours ahead of you (I’m in England) I doubt I’ll be able to be live on the lesson, but I can always catch up even if I can’t join in on the chat box. Any chance I could download the reference picture so I can have it in front of me whilst drawing? It’s hard to see on the screen.
Hi Matt. Actually,I do possess tinted charcoal. Lovely to work with.
Hi Matt,
Can you see a lady on the right side of the road,…you nearly ruined her adding some branches ..lol ..I’m good at picking out shapes .
Hi Matt, Did you use the smoother side of the Mi-Teintes pastel paper? I watched your Live tonight and got interested in charcoal landscapes. Thank you. I’m learning a lot as a member. Nancy G