
Landscape Drawing with Colored Pencils - Gentle Stream
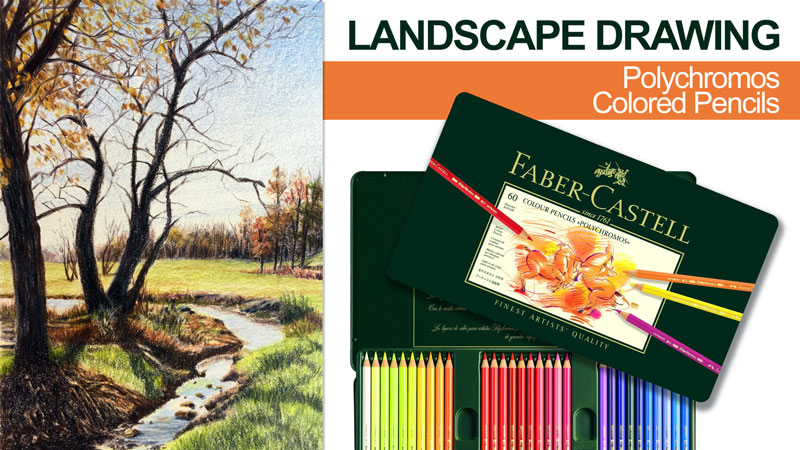

About This Lesson Series...
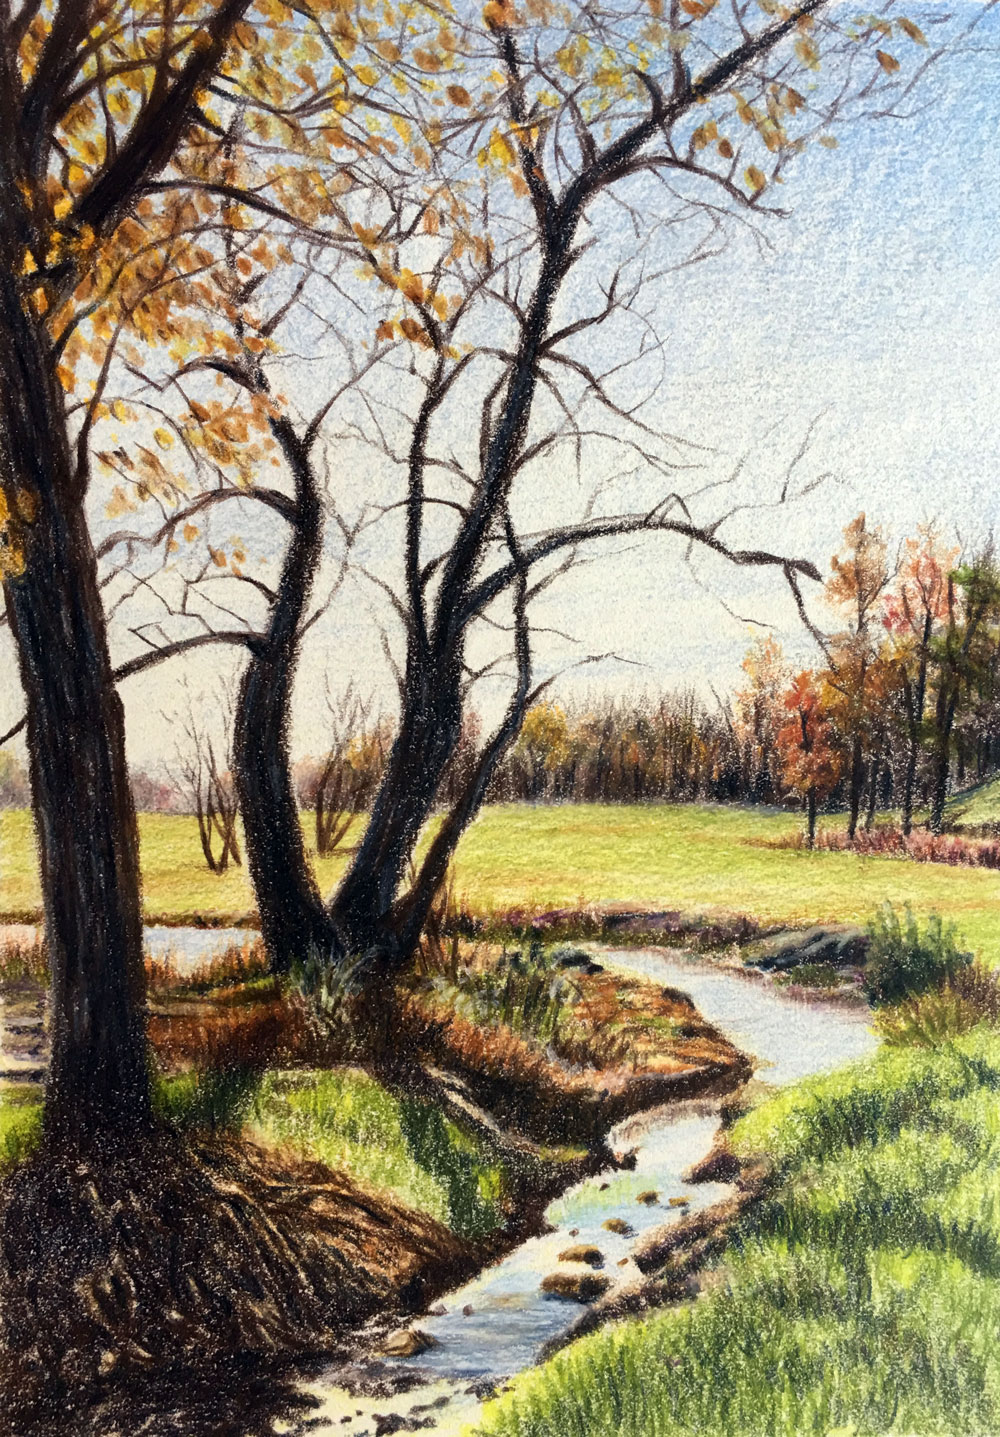
In this engaging lesson series, Matt guides students through the creation of a beautiful colored pencil landscape featuring a tranquil stream winding through a grouping of trees. Designed for artists of all skill levels, this class focuses on building a strong understanding of colored pencil techniques while developing a convincing sense of depth and atmosphere. With a clear, step-by-step approach, students learn how to transform a simple natural scene into a richly layered and visually compelling drawing.
A Step-by-Step Approach to Landscape Drawing
This five-part series includes over five hours of detailed instruction, allowing students to follow along through every stage of the drawing process. Matt begins by demonstrating how to lightly sketch the composition using graphite, carefully placing the major elements of the scene. This initial step establishes the structure of the landscape, ensuring proper proportions and a balanced composition before color is applied.
From the very beginning, students are encouraged to think about the overall layout of the scene, including the placement of the stream, the tree line, and the foreground elements. This thoughtful planning sets the foundation for a successful and cohesive final drawing.
Building Depth from Background to Foreground
One of the key concepts explored in this lesson series is the development of depth through an organized approach. Students work progressively from the background to the foreground, starting with distant trees and gradually moving forward in space.
The middle ground is developed next, where the tree line becomes more defined and color relationships begin to emerge. Finally, the foreground receives the most detail and contrast, helping to draw the viewer into the scene. This structured method ensures that each layer contributes to a believable sense of space and atmosphere.
Layering Color for Rich, Natural Results
Colored pencils are uniquely suited for building color gradually, and this class emphasizes the importance of layering. Using oil-based colored pencils, students learn how to apply multiple layers of color to achieve subtle variations in hue and value.
Rather than relying on heavy blending, Matt demonstrates how to use controlled strokes and transparent layers to create texture and vibrancy. This approach allows the natural tooth of the paper to interact with the pigment, producing a lively surface that enhances the realism of the landscape.
Rendering Trees, Water, and Natural Textures
Special attention is given to rendering the various elements within the scene. Students learn how to suggest the texture of leaves and tree bark using directional strokes and layered color. The flowing stream is developed with careful attention to value and subtle color shifts, creating the illusion of movement and reflection.
Throughout the process, Matt emphasizes observation and mark-making, showing how small adjustments in pressure and direction can dramatically impact the final result. By focusing on these details, students gain the ability to create convincing natural textures without overworking the drawing.
Refining the Foreground and Completing the Image
In the final stage of the series, the foreground is fully developed with stronger contrast, richer color, and sharper detail. This area anchors the composition and provides a visual entry point for the viewer. The stream and surrounding elements are refined, bringing the entire scene together into a cohesive and polished work of art.
Build Confidence with Colored Pencil Landscapes
This lesson series is ideal for artists who want to improve their colored pencil skills while exploring landscape drawing. By the end of the class, students will have created a detailed and atmospheric drawing of a tree-lined stream and developed a deeper understanding of layering, texture, and depth.
Whether you are new to colored pencils or looking to refine your technique, this class provides the tools and guidance needed to create beautiful, realistic landscapes with confidence.
Here's what you'll need...
- Polychromos Colored Pencils
- Stonehenge Warm White Paper
- "H" Graphite Pencil
- Kneaded Eraser

Founder of The Virtual Instructor, artist and teacher. Matt makes learning art easy to understand and enjoyable.
Hi Matt, great lesson, it was actually the first one I’ve watched as I’m a new member. Really looking forward to this Thursday for lesson 2. I have heard that Prismacolour premier pencils are not of very good quality and seem to break often and that is why I purchased Faber-Castell, what’s your opinion on Prismacolour?
HI Matt, I also have prismacolor premier, I use them and they are great, its a matter of being careful with them…
Matt, Lyra makes a blender pencil that comes in there 72 colored pencil set which is oil based, as one of the viewers ask this question. love this, I love all of your tutorials , I love your teaching style.
The 36 piece set may have one in them, I don’t know if you can buy seperate.
Hi Matt
Would it be possible to list the colours used in the Materials so if we do not have the pencils as in the Polychromos rang ewe can buy them in advance rather than watching the video in its entirety. I am fairly new to your site but the demos are excellent.
Hi Peter,
Thanks for your question. During Live Lessons I am making decisions about color as the lesson takes place. So, I’m not sure what colors I will actually use until it comes time to use them. I can perhaps list the colors when the entire series is over.
Great that would be helpful
Hi, Matt.
Is it possible for you to list the colors used in this lesson? I have the 72 Prismacolor Premier set and am hoping to use those to follow along with this lesson.
Thank you for your help! I look forward to getting started.
Dani
Hi Matt, Did you list the colors you used, and if so, can you point me to them. Thanks, Stephen
Hi Stephen,
No, the colors aren’t listed but are mentioned during the lessons. I somewhat think it’s better to learn to mix colors based on color theory instead of on color names. This allows you to be free to chose whatever brand you wish and to develop your mixing and layering skills with colored pencils.
Ditto on looking for a list f the colours required. I have the set of 60 but after lesson 1 realise I don’t have a big enough range of blues. I have started to order more, but assuming the same issue will arse when I come to the greens etc. I will have to watch all of the lessons up front to get a feel for what I am going to need.
Hi Matt, could one use color oil pencils on a regular canvas like regular oils?
and your not going to blend any of this?????
Hi Carol,
Not all colored pencil applications and types of colored pencils need to be blended. And in some situations, the artist may choose not to blend applications at all. We look at many different approaches to using different mediums for producing art throughout the site. In this particular series, oil-based pencils are used on Stonehenge paper. I decided not to blend the applications and instead allow the texture of the paper to play a role in the finished look of the drawing.
Loved this Matt…your teaching is so clear and concise…thx!
Hi Matt, I really love this lesson. I am a beginer, I learn to draw for a few months because I want to draw landscape while traveling. I saw you have another course: landscape with pastels. Could you recommend what medium (colored pencils or pastel pencils) would be better for me to draw colorful landscape sketches while traveling? For example, when I use graphite pencil, after closing my sketchbook, the sketch gets dirty/blurred easily. Is there the same problem with pastel pencils?
Hi Helga,
Pastels will be quicker but messy. Colored pencils will be clean but are time consuming. Have you thought of using watercolor and pen and ink? You can sketch the subject with pen and ink and then add a bit of color with watercolor. You would need a sketchbook with watercolor paper.
I have never thought about pen and wotercolor. Sounds good 🙂 , I will try it, thank you.
Dear Matt, one more question. I found a lot of Line and wash lessons here, is what what you mean by using watercolor and pen and ink? Thank you, love all of your lessons. Helga
Dear Matt, one more question. I found a lot of Line and wash lessons here, is what what you mean by using watercolor and pen and ink? Thank you, love all of your lessons. Helga
Matt – I just purchased a set of 12 polychromos colored pencils which cost me over $40. You are using a set of “well alot more than I have”, so if I am following along, what do you suggest I do since I will not be able to use the colors you have. This is often a problem I am having with your courses – I am a beginner at this and have prismacolor pencils, but again a set of 24 versus 48 or the multiple number of pencils that you are using. I am having a very difficult time following along with you without the exact materials you are using, so what do I do? Should I not take the class or take the class and not participate in the lessons you are giving since I don’t have the same equipment as you have?
Lois
Hi Lois,
Thanks for your comments. Well, I’d say you have a few options…
1. You can use what you have and try mixing colors by layering.
2. You can order a larger set of pencils so that you have more choices.
3. You can use the same brand of colored pencils for every colored pencil drawing that you create and just collect additional colors over time.
I think what you do depends on what you are wanting to get out of the lessons. Are you wanting to copy the drawing that I am creating exactly? Or are you wanting to learn from the techniques used so that you can use them to create your own drawings. I suggest focusing on the latter. It’s fine to follow along with the lessons and draw as well, but ultimately you should focus on creating your own original art from what you learn through practice. The materials should never be a hinderance to your artistic drive. Work with what you have or expand your collection – but either way it shouldn’t stop you from making marks.
Hey Matt,
Is there video of the “homework” portion between lessons 4 an 5? I’m having some difficulty with mine. I just don’t like they way it’s going. My colors don’t look right, textures, etc. Everything was going great until then. I know this isn’t a new lesson but I thought I’d ask anyway. By the way, I love your site and lessons. I’ve learned a ton. I’m 48 and haven’t done much artwork since high school but you’ve helped me get the itch back.
Thanks,
Jeff
Hi Jeff,
Thanks for your comments! The homework sessions are not recorded. It’s hard to say what could be improved without seeing the work in progress. What specifically do you think is happening with the colors and textures?
will this work with wax based pencils?
Yes, most definitely.
Hello Matt! It’s been a joy to join your lessons! Being new to drawing and painting I am super excited about all the wonderful lessons and content you provide! I have followed along a couple of your lessons and completed the works. I Love browsing back and forth taking notes from your lessons to later apply to my own “creations”. I’ve proudly acquired most of the materials you use on your lessons, which I cannot compliment you enough for, and feel ready to slowly tackle the work needed to improve. HOWEVER, I must mention that my most absolute favorite tool discovery thanks to you, is the dusting big brush!! It makes me feel like a pro already! :))
All this to say, I’m about to tackle the landscape on this lesson and as long as I get to use mu brush, the mistakes made are welcome 😁