
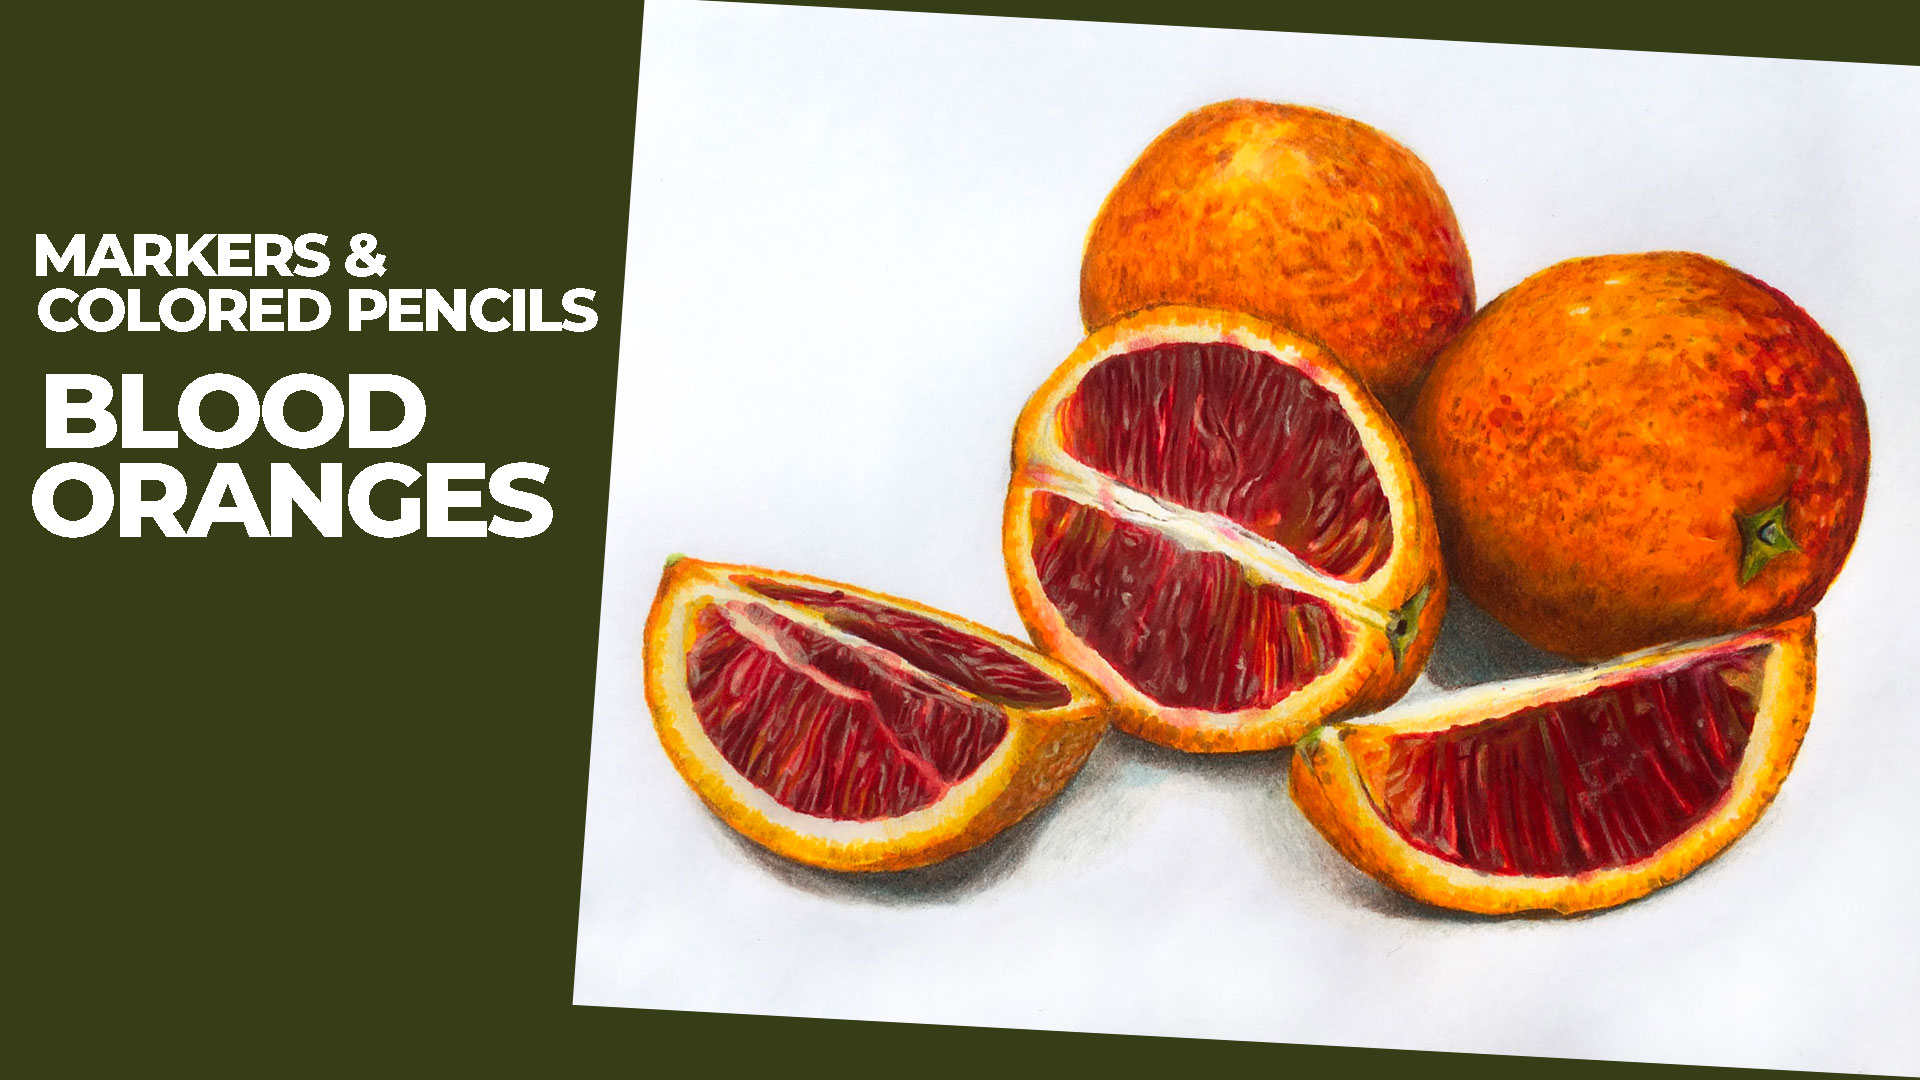
Blood Oranges with Markers and Colored Pencils

Lessons
About This Lesson Series...
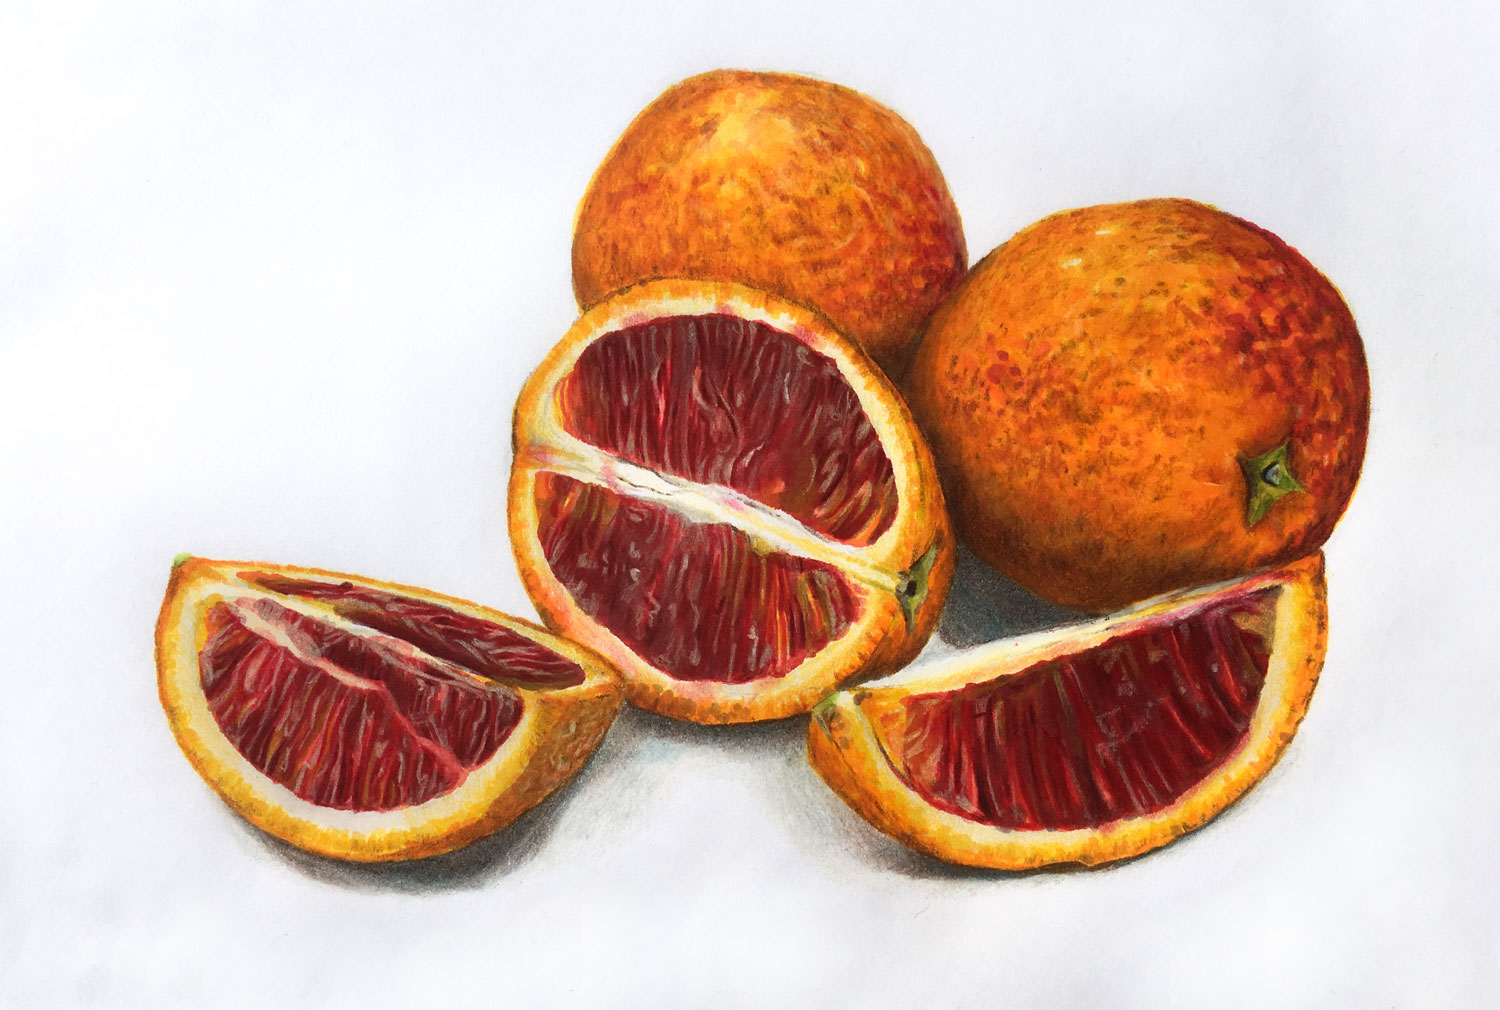
The Markers and Colored Pencils lesson series is a detailed and engaging instructional experience that teaches artists how to combine markers and colored pencils to create a vibrant, convincing still life drawing of blood oranges. This series is perfect for artists who want to explore the unique strengths of both media — the smooth, bold color of markers and the refined control and texture of colored pencils — while learning how to integrate them into a cohesive piece of art. Over the course of the series, students are guided step by step through materials preparation, initial layout, layering techniques, and finishing touches that bring the composition to life.
Materials and Tools
Before the first mark is made, Matt introduces the materials and tools used in this series. A selection of alcohol-based markers is recommended for establishing bold, even color fields and smooth transitions, while a set of high-quality colored pencils is used to refine edges, enhance subtle textures, and add depth to the drawing. Other essential materials include marker paper or a smooth illustration board that can withstand marker saturation, a light box or tracing paper for transfer if needed, and erasers for cleanup. Understanding how each tool behaves — how markers blend and how pencils build detail — is critical to successfully combining these two media.
Constructing the Still Life
The instructional sequence begins with setting up and transferring the basic still life composition of blood oranges. Students first learn how to observe the form, position, and relationship of shapes within the composition. A preliminary pencil layout helps define proportions and ensures that the final drawing will feel balanced and dynamic. Once the foundational sketch is established, the instructor demonstrates how to use marker tones to block in large areas of color, starting with lighter hues and gradually building toward richer tones. This process emphasizes the importance of establishing value relationships early, so the drawing maintains clarity and cohesion throughout subsequent layers.
Combining Markers and Colored Pencils
A key focus of this series is showing how markers and colored pencils complement each other. The instructor explains when to use markers — for even color fields and smooth gradients — and when to use colored pencils to pull back detail, accent highlights, and suggest texture. Because blood oranges have complex surfaces with subtle shifts in hue, the lessons emphasize techniques such as layering pencil strokes over marker fields, adjusting saturation, and creating delicate transitions from rind to shadow. You’ll also learn how to capture reflective surfaces and subtle variations in light that give the composition a lifelike appearance.
Refining and Finishing
As the drawing nears completion, the instructor demonstrates how to refine details, enhance contrast, and unify the composition. This includes softening edges, strengthening shadows, and adding final highlights that make the blood oranges feel tactile and vibrant on the page. Throughout the lesson series, commentary on artistic decision-making helps students understand not only what techniques to use, but why they are effective — and how similar strategies can be applied to future subjects.
What You’ll Gain
By the end of the Markers and Colored Pencils lesson series, students will have a completed still life drawing that showcases both bold marker color and refined colored pencil detail. More importantly, they will have developed confidence using mixed media to capture complex subjects, improved their understanding of color layering and value relationships, and gained skills they can apply to countless future projects. Whether you are new to these media or seeking to grow your abilities, this series offers a structured, inspiring path to greater artistic expression.
Here's what you'll need...
- Marker Paper
- Graphite Pencil
- Alcohol-Based Markers
- Colored Pencils

Founder of The Virtual Instructor, artist and teacher. Matt makes learning art easy to understand and enjoyable.
I just starting the secrets to drawing. I figure that was a good place for me to start. My question is in your “markers and color pencils – still live” is there going to be above beginner drawing? Thanks.
Hi Adam,
I’m not sure what you are asking. Are you asking if there are more advanced lessons on the site? If so, the answer is yes. If you are asking if this series gets more complex, the answer is also yes!
Yes that is what I was asking. Thank you.
Can you make the live lessons for beginners? Thank you.
Can you make the live lessons for beginners? Thank you.
Hi Adam,
The Live Lessons will continue to be produced for learners at all levels.
How do I put my picture in?
Hi Adam,
If you have art that you would like to submit for critique, you can submit it on The Members Minute page. Just click on the “Critique” tab in the top menu. You can also post work on the forum (“Forum” tab in the menu).
Hi Matt, I don’t know what happened to your website but I guess you updated it a bit but how come I can’t access the archived or the past general videos? All of them used to be posted in the “download videos” sections but not anymore! Now, in the “download videos” section, You only have written information about downloading videos! So, where can I find the archived and past videos of your general videos?
Thanks,
**Nikki**
Hi Nikki,
All of the videos on the site can be found by using the menu at the top. Go to “Drawing” to find drawing videos and “Painting” to find painting videos. On these pages, videos are further organized by medium i.e.. graphite, pen and ink, colored pencil, etc. On these pages, you can find them organized by subject…landscape, still life, portraiture, etc. The site has always functioned this way. The previous “Download Videos” page was redundant and was not being used by the majority of users. Course videos can be found under the “Courses” tab and past Live Lessons can be found under the “Live Lessons” tab. You can also check out the newest general videos on the Member’s Dashboard page by scrolling down the page.
Matt,
You commented that most people watch the recorded lessons…..I watch the recorded lessons only because I live 6 time zones away and staying up til 2 or 3 in the AM is a bit difficult! 🙂 But when in the US I do watch the live lessons when I can.
Am loving your teaching ( excellent teacher by the way ) and have learned quite a bit. Please keep up the good work!!
Is there a list of the colors used for the drawing?
Hi Mark. Thanks a lot for your lessons. Is it possible to be more detailed in the references of the Markers and Pencils you use in your Live Lessons? For a Beginner like me it is difficult to select properly the colors to be used.
Matt*. Sorry for mistyping your name.
I enjoyed this part of the lesson so far. I know everyone’s colors are not going to match perfectly so I’m going to concentrate on getting it as Close as I can. I use uni.Posco markers and ArtistsLoft plus I have ARTEZA fine-liners is that ok?
If you could make a list of the colors used on videos it would be so helpful