
Botanical Drawing with Pen and Ink
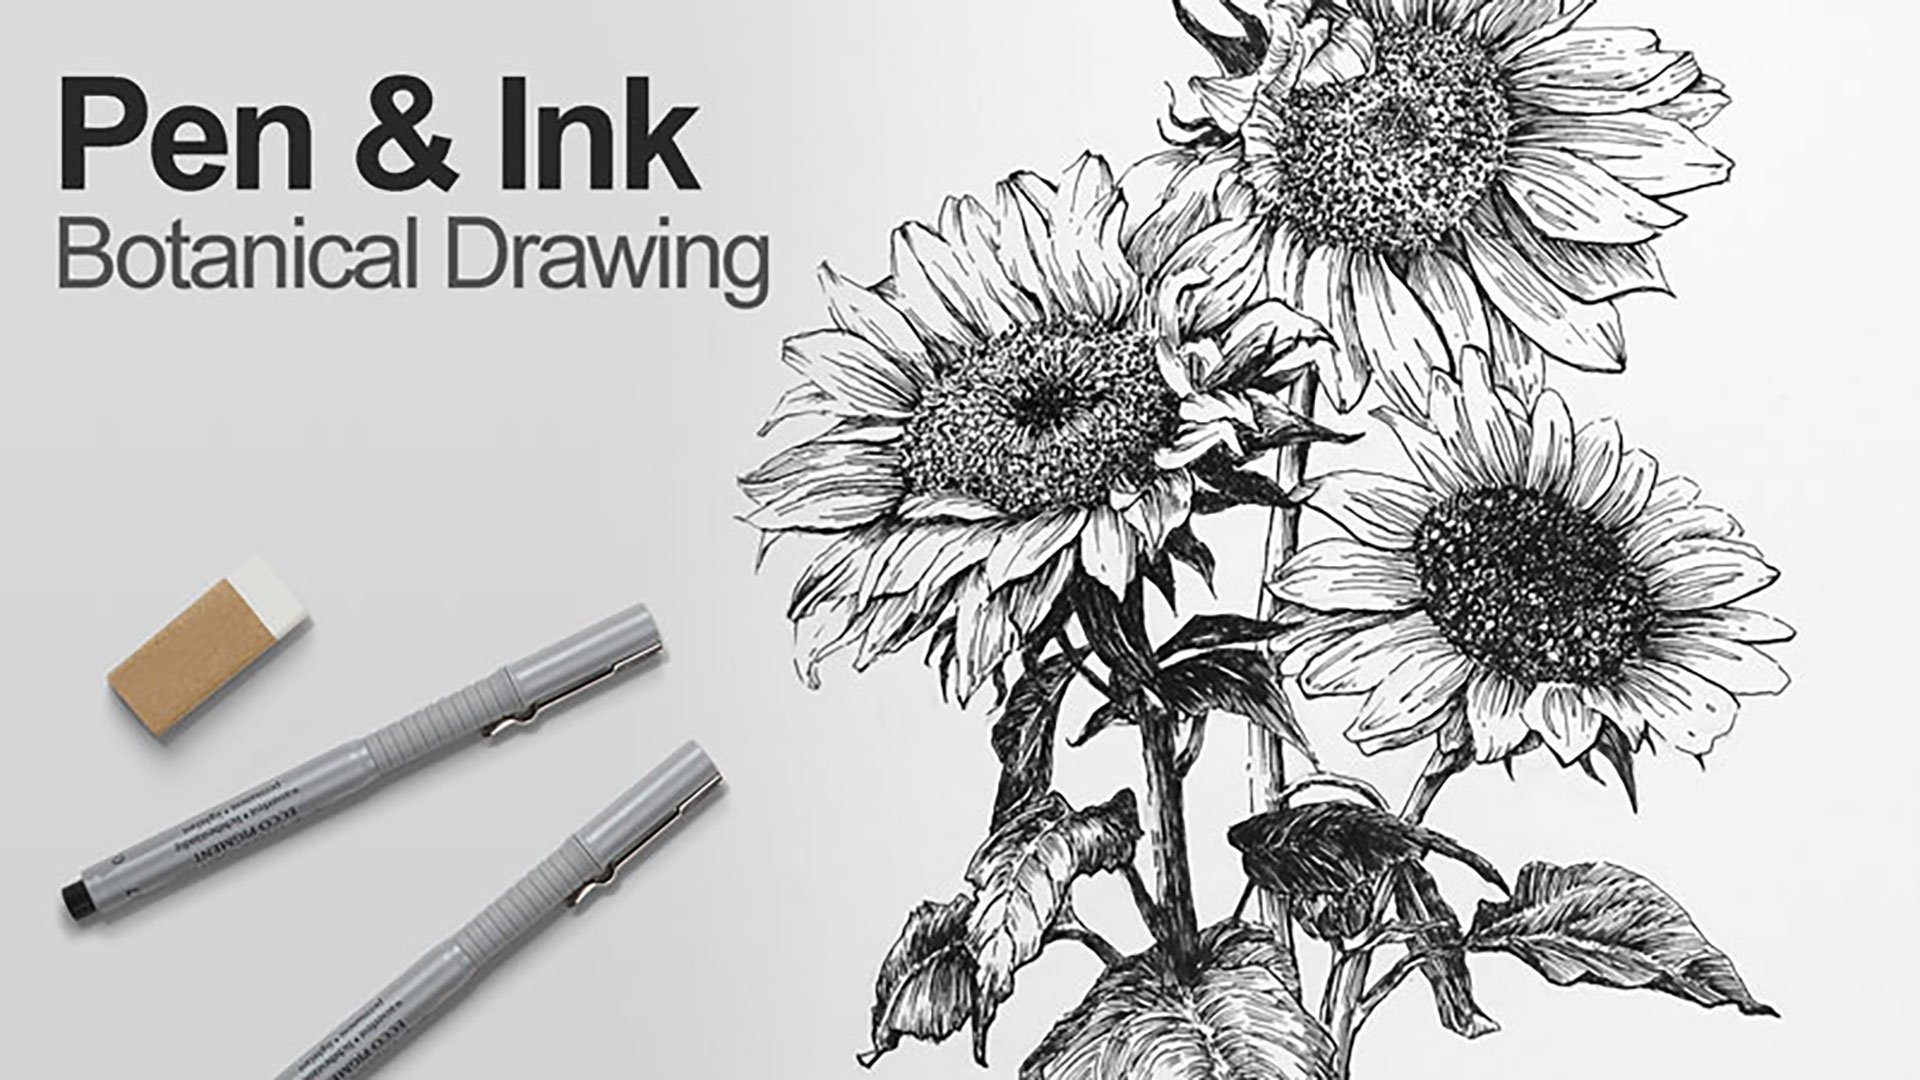

About This Lesson Series...
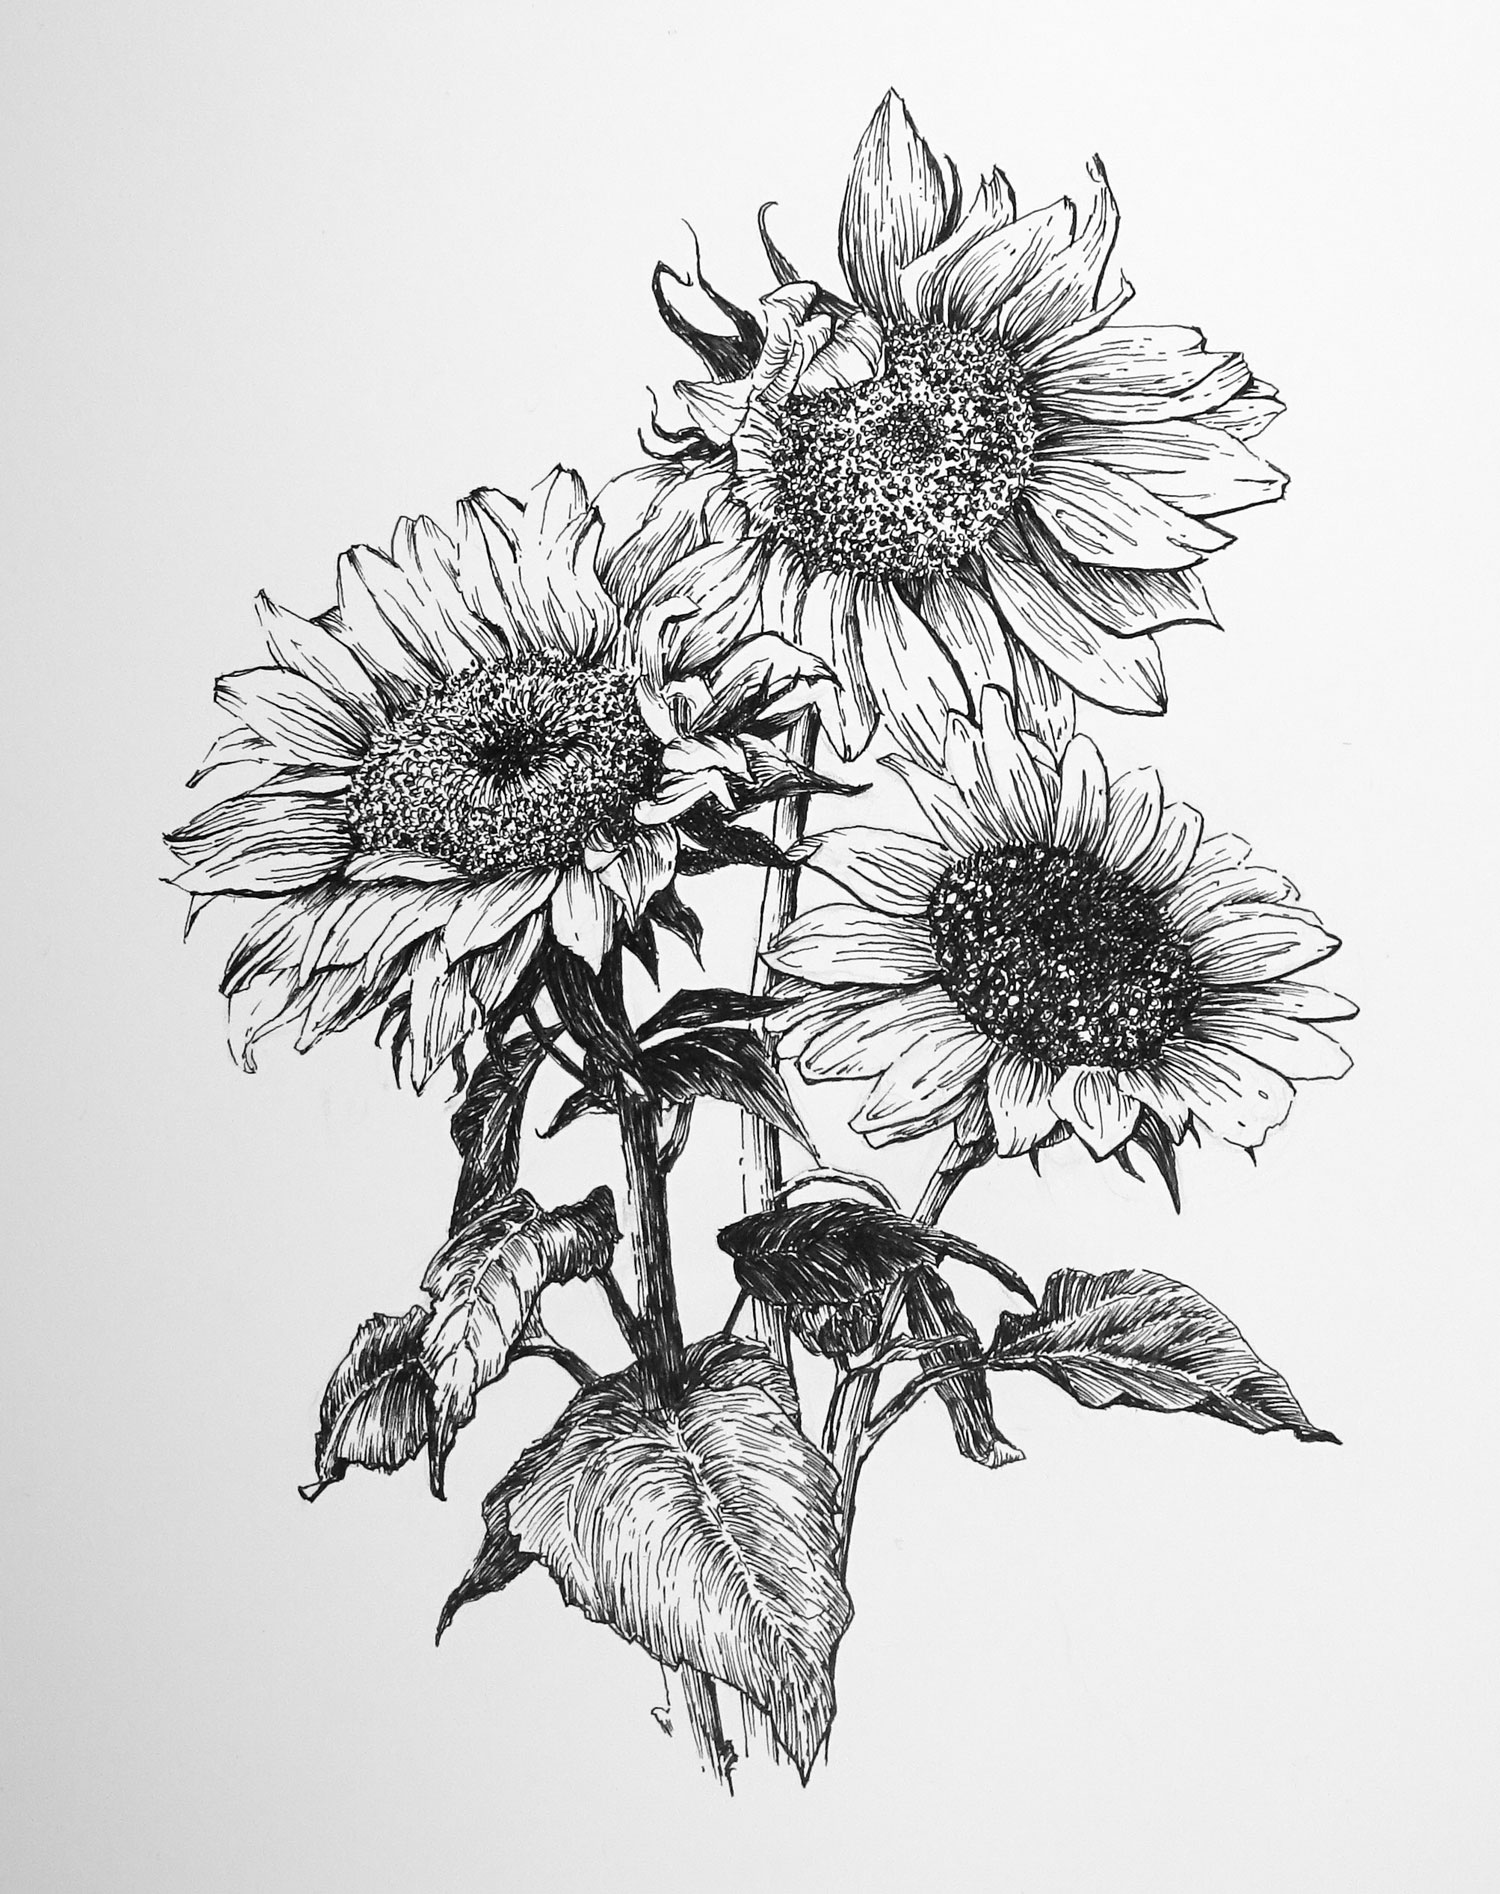
The Botanical Drawing with Pen and Ink lesson series is a comprehensive exploration of botanical drawing using pen and ink. In this beautifully structured course, students are guided step by step through the techniques needed to create a detailed and expressive botanical illustration of flowers. From initial design and composition to refined line work and texture, this series focuses on the unique strengths of pen and ink as a medium — celebrating its elegance, precision, and ability to convey form through line quality alone. Whether you are new to botanical art or looking to expand your technical skills, this lesson series offers clear instruction, thoughtful demonstrations, and artistic insight that will elevate your work.
Materials and Tools
Before beginning the drawing process, Matt reviews the essential materials used throughout the series. A selection of technical pens or dip pens with varying nib sizes are recommended to achieve a range of line weights and mark types. Smooth, heavyweight paper suitable for ink is essential, as it allows sharp lines without feathering. Additional tools such as pencils for initial sketching and kneaded erasers for careful cleanup are discussed. Understanding the characteristics of each tool helps students choose the best implements to capture botanical detail effectively.
Structure and Composition
The first phase of the lesson series focuses on planning the composition and establishing accurate proportions. Matt demonstrates how to observe botanical forms, identifying key angles, overlaps, and relationships between stems, petals, and leaves. By starting with a careful pencil sketch on paper, students learn how to block in the basic shapes before committing ink to the page. This preparatory work ensures a solid foundation that allows the pen work to focus on form, texture, and detail rather than structural guesswork.
Pen and Ink Techniques
As the series progresses, Matt introduces key pen and ink techniques that bring the botanical subject to life. Students explore hatching and cross-hatching to describe value, stippling for delicate surface texture, and contour lines to emphasize form and volume. Instruction includes when to use bold, confident strokes versus fine, careful lines, and how varying line weight can enhance visual interest and depth. The instructor explains how to balance shadow and highlight through strategic mark-making, demonstrating how even simple lines can suggest complex textures like the soft curve of a petal or the rugged surface of a leaf.
Developing Detail and Refinement
With the foundational ink work underway, the series moves toward refining details and enhancing contrast. Students learn how to build up value through layered techniques while maintaining clarity and avoiding visual clutter. Tips for preserving white space, managing transitions between light and dark areas, and creating focal points within the composition are offered throughout the demonstrations. These decisions not only improve the realism of the piece but also contribute to a balanced and aesthetically pleasing final artwork.
What You’ll Gain
By the end of the Pen and Ink Botanical lesson series, students will have completed a richly detailed botanical illustration that showcases their understanding of botanical form, line quality, and pen techniques. More importantly, they will have developed a deeper appreciation for how pen and ink can be used to communicate both fine surface detail and broader structural form. Whether you’re pursuing botanical illustration as a hobby or a serious artistic pursuit, this lesson series offers the tools and confidence needed to continue exploring the expressive possibilities of pen and ink.
Here's what you'll need...
- Technical Drawing Pens
- Smooth Bristol Paper
- Graphite Pencil
- Eraser

Founder of The Virtual Instructor, artist and teacher. Matt makes learning art easy to understand and enjoyable.
I’m curious. When you did the general shapes of the sunflowers did the general shape include the petals of the flowers? Or are we supposed to allow space for the petals to stretch outside of the circles and ellipses?
Thanks.
Hi Brandy, Yes, the general shape included the petals. I like to work from broad shapes first and then define the smaller shapes within the larger ones. The ellipses that were drawn for the overall shape of each flower included the petals. I then went back and defined the shapes for each petal within the larger elliptical shape.
Now that I am trying to work along with you I don’t have time to chat. I am finding that you are going much faster when I am trying to work along with you. I think that is good for me because I think it is too easy for me to get bogged down in detail. Great class. Gail Taylor
Hi Matt, Just got back from a trip to Madrid, so I’m catching up. I thought you might like to know that the correct pronunciation of Staedtler is Stedler.
Actually though for a German name of a German company, in German, it is pronounced as Stetler.
Were there technical difficulties posting #3?
Hi Christine, Part 3 aired live last night. Recorded versions of the Live Lessons are posted on Saturday or Sunday after the air date. Part 3 will be posted during the day tomorrow.
Ah, thanks!! 🙂 Have a great weekend.
I vote for watercolor/colored pencils!!!
Hello
I am enjoying your lesson but I so wish you had fast replay. I would prefer to watch your lesson quickly first or skip some parts entirely. I am checking out other sites like skill share and this might be a deal breaker for me but know that you are awesome. THANKS!
Hi Connie,
This is an older series and was missing the speed option. I have just added it. You can now change the speed on this lesson series. To do so, scroll over the video player and click on the gear icon. Then choose the speed at which you would like the video to play. I hope this helps.