
Horse with Pen and Ink

Lessons
About This Lesson Series...
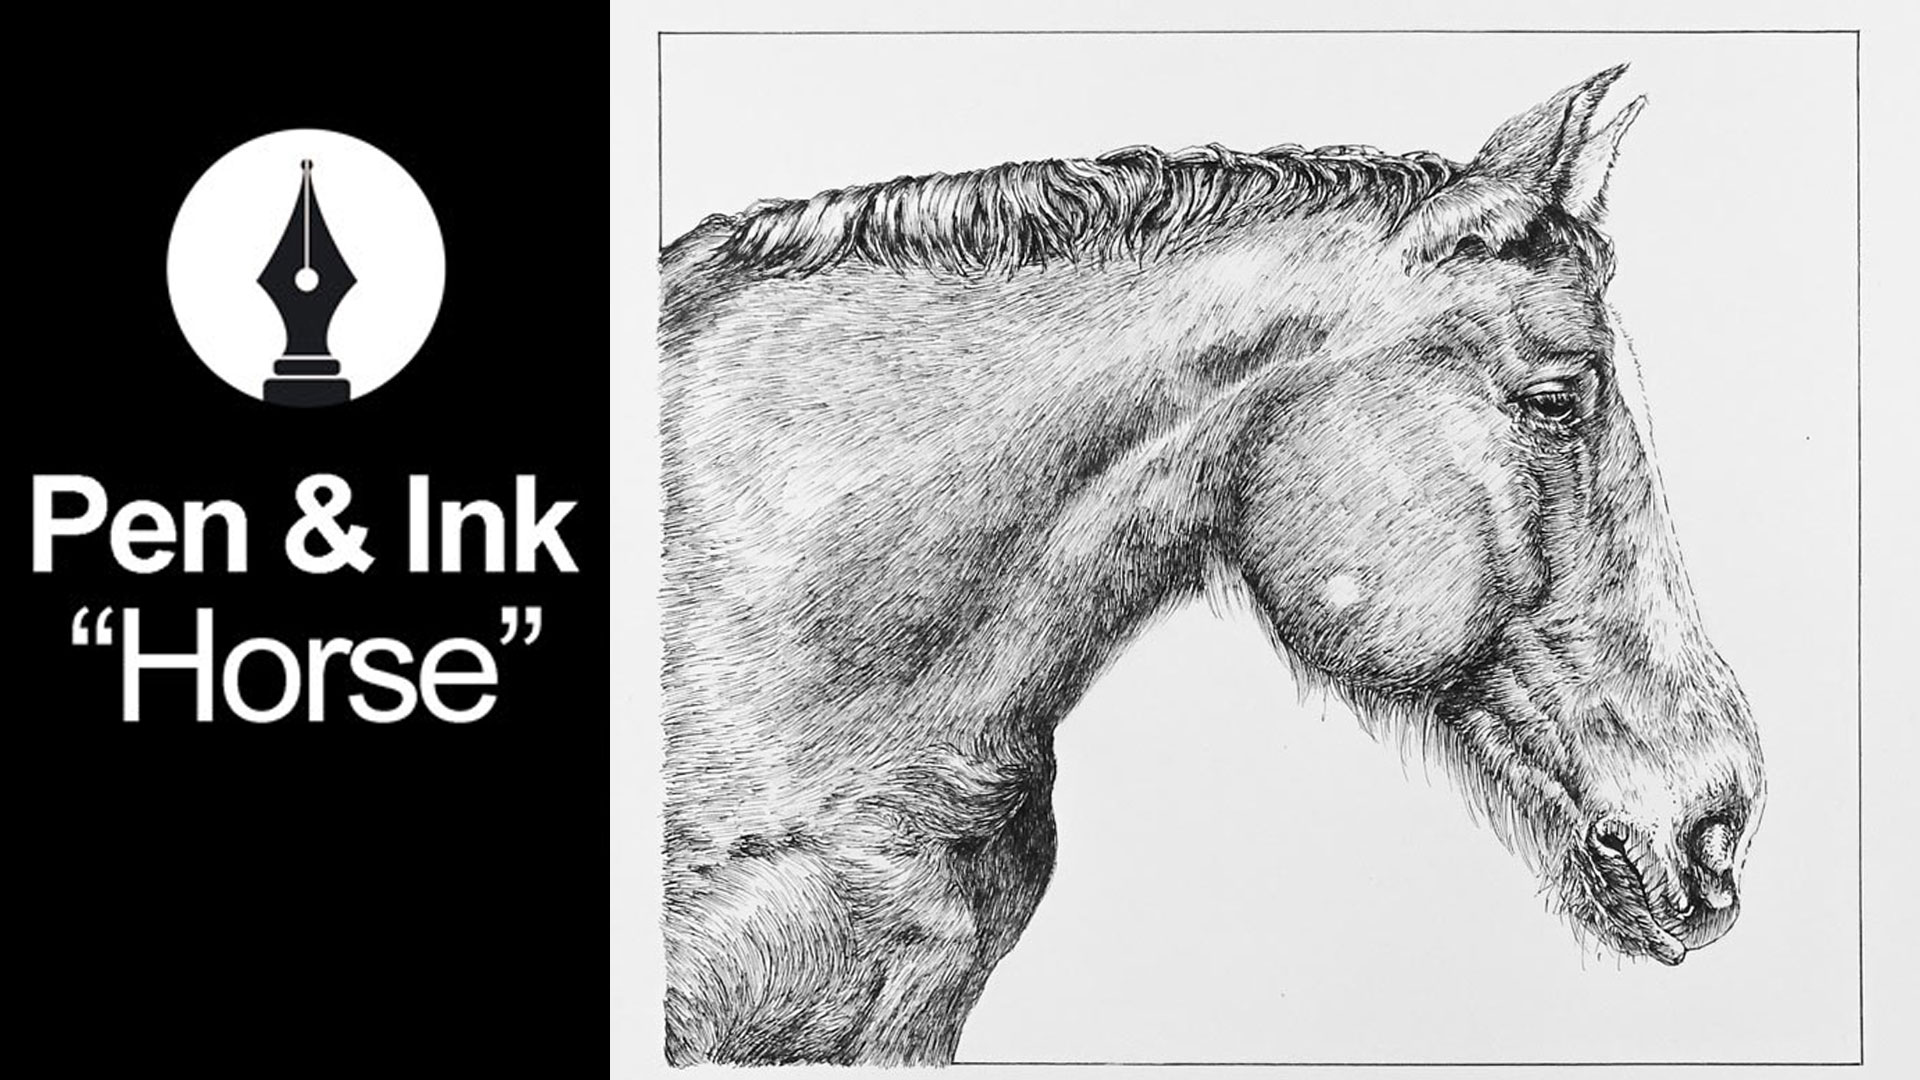
The Pen and Ink Horse lesson series is a comprehensive exploration of how to draw a horse using traditional pen and ink techniques. This multi-lesson class is designed to help artists of varying skill levels learn how to create a realistic equine drawing while mastering the key principles of mark-making, texture, form, and controlled line work associated with pen and ink drawing. The series includes approximately five hours of instruction spread across five detailed video lessons, each focusing on a different phase of developing the final horse illustration.
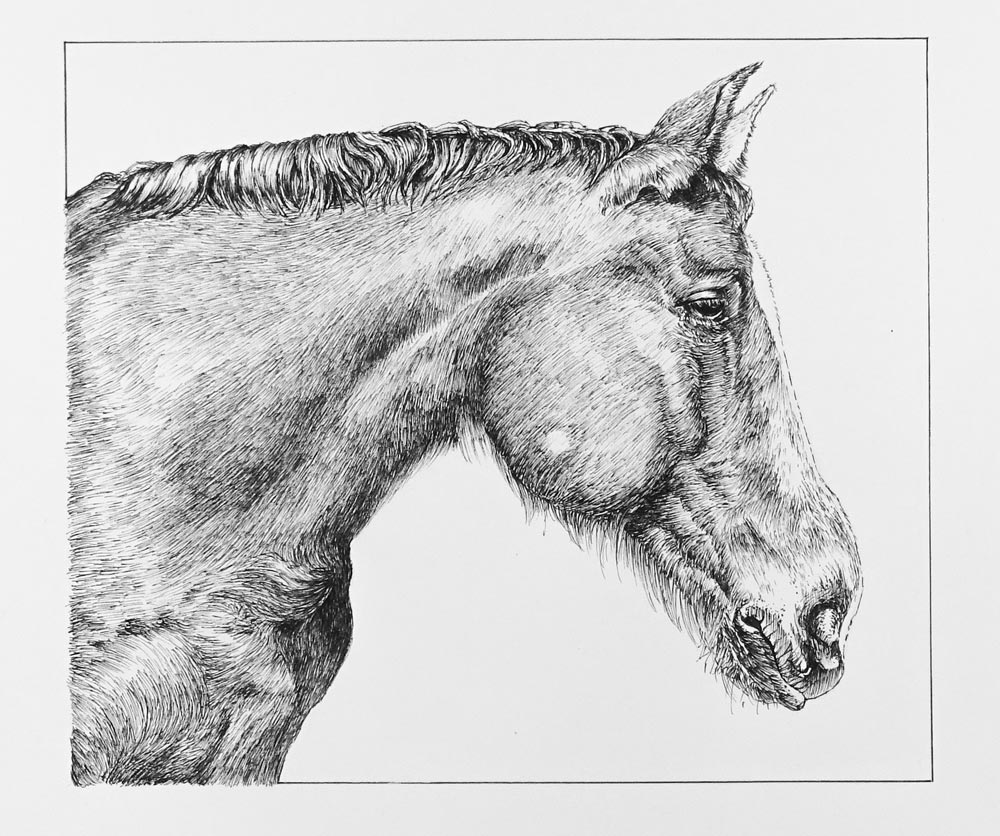
Throughout the lessons, students are guided step-by-step as they use directional strokes and varied line quality to build the illusion of texture and three-dimensional form. Students learn to observe and translate subtle details such as the flow of the mane, contours of the musculature, and the play of light and shadow on the horse’s body. This process helps deepen observation skills and reinforces how line direction and density influence both texture and value in a drawing — foundational techniques in traditional pen and ink art.
The series also includes practical discussions of materials and tools. Students are encouraged to work with supplies such as graphite pencils for initial sketching, smooth Bristol paper for clean line work, and technical drawing pens that deliver precise and consistent ink flow. These conversations on materials ensure that artists understand how the tools they choose impact the marks they make and how line quality contributes to the overall visual effect of the drawing.
Each video lesson builds on the last, beginning with establishing the basic structural drawing and progressing toward refining detail and consistency. Instruction includes how to approach large shapes with confidence, how to control the pen for both broad and fine strokes, and how to use hatching techniques to render shadows and depth. By the end of the series, students have completed a fully developed horse drawing and have developed valuable skills that can be applied to other pen and ink subjects as well.
In addition to technique, the instructor frequently offers insight on artistic decision-making, such as when to accentuate certain lines for emphasis and how to avoid becoming overwhelmed by detail too early in the process. This kind of contextual discussion helps artists understand not just what marks to make but why and when to make them, which is essential for growing artistic confidence and skill.
Whether you are interested in drawing animals, enhancing your pen and ink line work, or simply expanding your artistic repertoire, the Pen and Ink Horse lesson series provides a structured, engaging way to build capability and enjoy the craft of traditional ink drawing.
Here's what you'll need...
- Graphite pencil
- Bristol paper
- Technical drawing pens
- Kneaded eraser

Founder of The Virtual Instructor, artist and teacher. Matt makes learning art easy to understand and enjoyable.
This was interesting as I struggle with too much detail and then get lost in it when trying to translate what I see to paper. The sphere exercise that proceeded drawing the eye really helped in grasping the drawing of the eye. The conversation on “cheating” got me to thinking that, other than presenting someone else’s work as your own, cheating may primarily be a subjective decision based on one’s own goals and how their choices move them toward those goals. This may be obvious to many but I have had concerns about “cheating” that could have inhibited a valid learning experience, to the degree that rigid thinking can inhibit action. The horse is a great subject for pen and ink drawing.
I feel the same way.
hi ‘
I am new and have lost my feed . What’s uo
Matt, I no longer see the link for downloading the video. Am I missing something?
Love this lesson and am enjoying the challenge!
Hi Barbara, The links to download the videos is right underneath the videos. It is the link that reads “Download Page”. I hope this helps.
Hi, Matt. This is a timely lesson for me as I have spent time lately working on my basic drawing skills and also exploring different media and discovering my preferences, both in enjoyment of working with them and the results I achieve. Artists pens are definitely becoming my favourite drawing medium, both for quick sketches and more considered artwork. In a perverse way I like that they can’t be erased and I can see my mistakes and corrections and reinforce the right way in my brain (hope this makes sense). For something like this horse, I find I am constantly exercising my observation skills, which way hair grows, is it long or short, is a dark patch a shadow or darker hair, etc and how can I portray the difference. Some may find all that tedious but I love the process and that I am building my repertoire of techniques. Just one question – do you not find the graphite drawing affects the laying down of ink, and do you erase the drawing as you go, at the end, or not at all? By the way, like you I am preferring pastels to other forms of coloured media.
I’m still watching Lesson 2 and your drawing the “cheek” area. I’ve not done pen and ink and am not familiar with techniques, but I do have a question because I try to understand the reasoning behind the way things are done. There is a bit of extra ink, for lack of a better term, at the beginning of a stroke and then it tapers off. Since I think hair grows down in that area, would it make a difference if you began the stroke at the top and then tapered down? Or is that your personal preference? Thanks.
Hi again, I’m still watching Lesson 2, and someone else asked about the directional strokes after I wrote the initial email, and you again explained it. I don’t think I was as clear as I could have been in my question. I understand the concept of directional strokes. My question is: The hair on the cheek is growing from northeast to southwest, yet the majority of the strokes are SW to NE, and I was wondering why. I understand that when there is a depression that even though the hair may be growing NE to SW, you would want the deposit of ink to be heavier in the depression area and then taper, but I don’t understand why on the smooth areas the strokes are SW to NE because it makes the horse look shaggy in my opinion. I hope that makes sense, and thanks in advance for your response. P.S. I can’t wait for the 25-day drawing course to start!
Hi Caryl,
Great observation. Ideally, it would have been more descriptive to make the strokes flow in the literal direction that the hair grows. In this case, I’m simply trying to make them at the same angle that the hair is growing. Honestly, this is simply out of comfort. It’s simply more comfortable for me to make strokes outward from my body. Because it is more comfortable, I have a little more control over the mark. I guess I could have turned the paper to address the strokes in manner that you suggest. In this drawing, it is a minor thing, but it could have been more descriptive making marks in the opposite direction.
Hi, Matt,
Thanks for your explanation. Since I started drawing so late in life, it’s like I’m making up for lost time and I just have to answers so I can do what I should have been doing for the past 70 years. I have sooo many questions on drawing and really appreciate your timely response.
Caryl
Hi Matt:
I am so enjoying working with this class.
Could you do a lesson on watercolor and finishing with wax colored pencil for detail on hot pressed w/c paper?
Thanks
Anne
Vancouver Canada
Hi Matt! I am loving this particular live lesson series. I am slowly working my way through the 3rd lesson and I am thrilled with the results. I hope you have a great week with your family. I can’t wait to see what the 25 days to better drawing will offer us. Thanks again!
Would you please have a live lesson for the horse you drew in the #10 tips for pastel. Thank you!
Hi Leila,
That lesson can be found here…http://thevirtualinstructor.com/draw-a-horse-pastels.html
Matt, I am very happy to have become a member. You are an amazing teacher with a great sense of humor.And a terrific artist. I have always used pencil on all my work even my oil paintings. Definitely not cheating.It is okay to do what works for you.
Amazing Matt.I have always gravitated towards detail drawings.
Hello Matt,
I saw your video about pen and ink paper and I would like to ask you if it’s better to use drawing paper or bristol with pen and ink in your courses or replacing them with pen and ink paper would give better results?
Jola
Hi Jola,
Although the pen and ink paper is great, it is also very thin. My favorite surface for pen and ink drawing is still Bristol Smooth due to its rigidity.
thanks Matt, first time doing horse study thourghley enjoying the process,