
Sea Turtle with Pen and Ink

Lessons
About This Lesson Series...
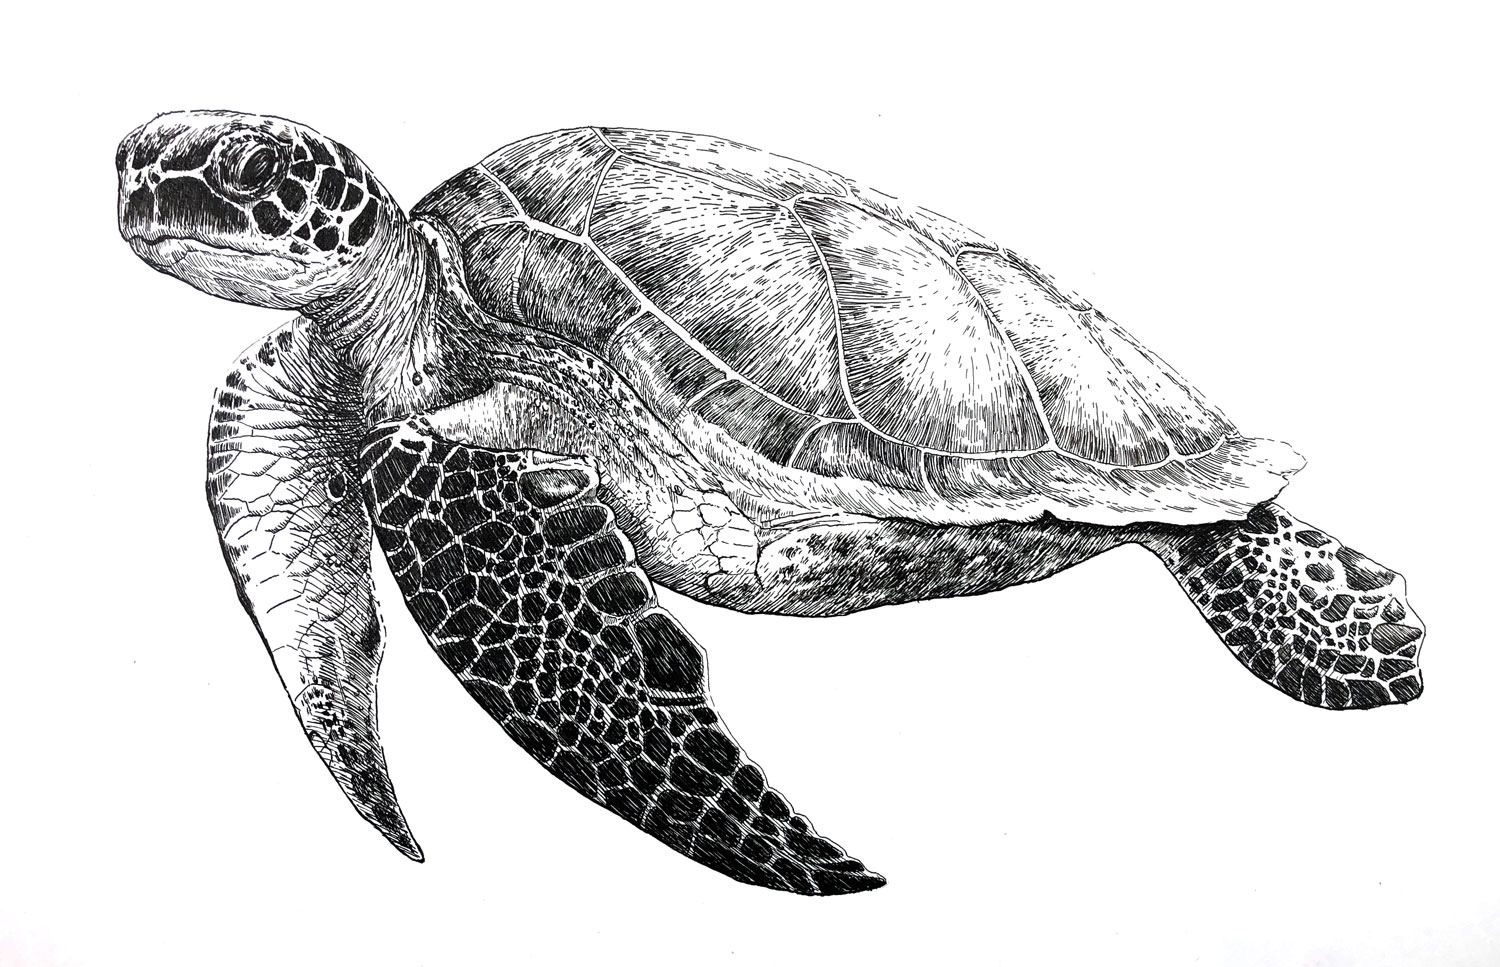
The Pen and Ink Sea Turtle lesson series is a comprehensive study in drawing with pen and ink that guides students step-by-step through the creation of a detailed and expressive sea turtle illustration. Over the course of this series, you’ll learn how to observe and interpret complex organic shapes, translate them into confident line work, and use line, value, and texture to create depth and form. Using a combination of hatching, cross-hatching, stippling, and varied line weight, this series teaches essential pen and ink techniques that help bring the subject to life with clarity and visual interest.
Observing the Subject
The series begins with careful observation, encouraging students to study the unique anatomy and surface qualities of a sea turtle. You’ll learn how to see the underlying structure of the turtle’s shell, the way light defines its curves, and how texture varies between the leathery skin and the patterned carapace. This focus on observation builds a strong foundation for drawing, helping you interpret visual information accurately rather than relying on guesswork. Understanding these relationships is crucial for effective pen and ink work, where every line must be intentional.
Establishing the Basic Drawing
Once the observation phase is complete, the series moves into the initial sketching stage. Using a light graphite pencil, students map out the basic shapes and overall proportions of the sea turtle. This stage is essential for planning the composition and ensuring that the major forms are well placed before any ink is applied. By breaking the subject into simple shapes and refining them gradually, you set yourself up for more successful ink application later on.
Developing Line Work
With the basic drawing in place, students begin applying pen work to define contour lines and major edges. The instructor demonstrates how varying line weight can suggest form, distance, and emphasis, giving life to the turtle’s shell, flippers, and head. At this stage, you’ll learn how to build confidence with line — using lighter, thinner lines for subtle transitions and heavier, bolder lines to strengthen focal areas. This foundational line work sets the stage for deeper value and texture development.
Creating Value and Depth
As the series progresses, focus turns to building value — the illusion of light and shadow — using hatching and cross-hatching techniques. You’ll learn how to layer lines in strategic ways to suggest volume and three-dimensionality, making the turtle feel solid and present on the page. Students also explore how the density of lines can convey depth, allowing backgrounds or surrounding elements to recede visually while keeping the turtle in focus.
Adding Texture and Detail
A key component of this lesson series is learning how to render texture effectively with pen and ink. You’ll learn how to depict the shell’s unique pattern, the subtle surface variations of skin, and the delicate transitions between light and shadow on different surfaces. Techniques such as stippling and varied line direction help suggest texture without overwhelming the drawing, giving the piece a rich, tactile appearance.
Refining and Finishing the Drawing
In the final stages, students focus on refinement and finishing touches. This includes enhancing contrasts, clarifying edges, and making thoughtful adjustments that unify the composition. You’ll learn how to evaluate the drawing as a whole, ensuring that tones, lines, and textures work together harmoniously. By the end of the series, you’ll have a polished sea turtle illustration that showcases your growing skills in pen and ink and gives you confidence to tackle more complex subjects with precision and expression.
Here's what you'll need...
- Bristol paper
- Graphite pencil
- Dip (Nib) pens or technical drawing pens
- Bottled ink (if using dip pens)
- Kneaded eraser

Founder of The Virtual Instructor, artist and teacher. Matt makes learning art easy to understand and enjoyable.
Hi Matt, I’ve not watched this yet but I want to do it as I’m in middle of doing pen & ink course, I’ve also got another dog portrait commission to do, that’s 3 I’ve done. I think a little business opportunity might be presenting itself lol.
They all free no charge as they were gifts.
Could I take the time to ask, it mentions Bristol paper on a lot of your work, well I’m really liking Strathmore paper. We have an online store that do only Strathmore and a bit back I got one of their sample packs which was good value for money.
Anyway do you mean Bristol board or is it called board instead of paper or not.
On the site they do say board. And I’m ready to order some now.
No rush to answer this
Thank you for your time as always Matt.
Kind regards Christine
Hi Christine!
The terms “paper” and “board” are used interchangeable to describe Bristol surfaces. It is a little thicker than traditional paper – very similar to card stock. This is why some call it board and others call it paper.
Cheers Matt, your time is always appreciated 🙂
This sea turtle is shaping up great, I love turtles, well all animals and ocean life.
Hi Matt: I’m being challenged by my changing vision, but although things don’t seem “normal”, I am able to come up with what looks like
this neat, Mexican? looking turtle…lol…
My pen today does not seem to be reacting, (the nib), as it did yesterday…doesn’t seem to grab ink the same.
This is def new…
I am loving it….
I particularly love drawing with ink and look forward to watching the uploaded videos ( I live in the European time zone ). It’s frustrating at times to have to wait til Saturday or even Sunday to see them. Can they possibly be uploaded sooner? I know I am ignorant of the procedure….but would love to see them sooner.
Keep up the good work!
Hi Matt,
back in the drawing saddle as of today. I’m intrigued with the modules you offer want to start the Pen and Ink course. I have drawn with Pen & Ink in the past. Now I am looking to buy a new pen and am overwhelmed with possibilities. I use 0.005 and 0.01 Microns and a Platinum Carbon a lot now because they don’t bleed. I broke so many KOH-I-NOOR Rapidographs in Florida due to clogging that I never want to chance using them again……and they are so pricey…….Fountain pens have been suggested and I would like to get one but which brand and which nib and what model leaves me in the dust. I think I need an extra fine nib but I’d also like to be able to vary the width. I like working with fine and delicate linework much of the time. What pens in the moderate price range would you recommend. I’m sure you’ve had students like me with a light hand and would appreciate the advice. I’ve also played with D.S. Walnut ink and enjoy it, especially when I want a wash effect with line on top. I would like to have a pen that I can load with it. With a Fountain pen I could load it and not have an open container of ink with 4 animals running around the room.LOL….seriously dangerous i my home.
Hi Matt
I totally agree with your comments in the latter portion of Lesson Three. If you have the drawing ability – go for it. However there are some, many, or a lot – that do not. Their skills are limited. You provide the information as to methodology, values etal. The value in your teaching is what the “individual” hopes to achieve in their artistic journey. In my case, the relaxing, methodical, expansion of knowledge, skills etc. is my fun. I am not fussy for oils, pastels but love watercolors. I am not anal about art, but do appreciate the masters like Caravaggio. They had their method(s) of transfer of the rough image outline. The weekly lessons are extremely valuable to me – retired, happy, able to hone my skills and knowledge. Keep going – your efforts are appreciated.
Gotta share something funny with you guys. I am drawing this sea turtle and needed to step away for a minute. Went outside on the deck with a cup of water. After taking in mother nature for a few minutes I poured what was left of my water off the deck and right on top of a huge box turtle. What are the odds? My wife and I love nature so the turtle not only got an accidental bath but a huge strawberry to eat as well. He is tearing into it with gusto.
How ironic!