
The Art of Distortion - Pen and Ink

Lessons
About This Lesson Series...
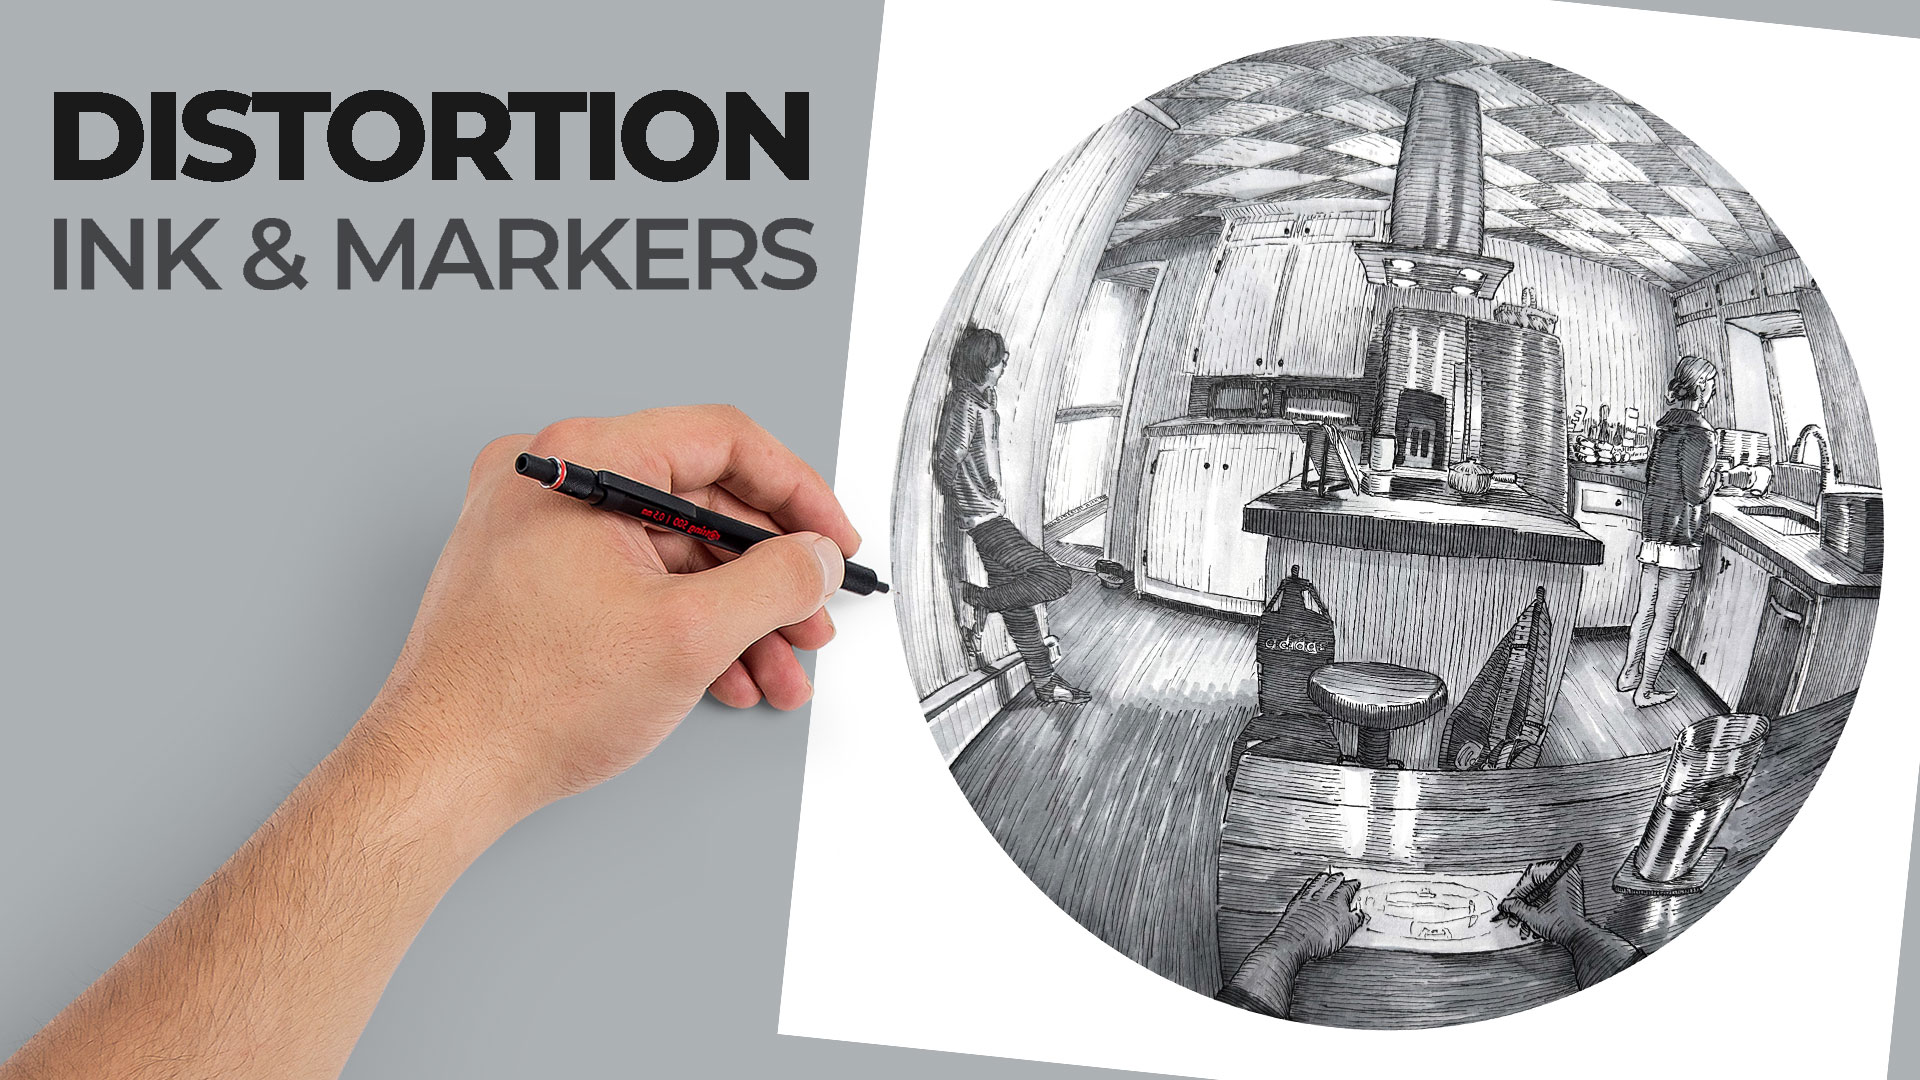
The Art of Distortion class is an engaging exploration of how artists can intentionally manipulate reality to create stronger, more expressive images. Rather than striving for strict realism, this lesson focuses on using distortion as a creative tool to emphasize mood, movement, and visual impact. Through guided demonstrations and clear explanations, you’ll learn how altering proportion, perspective, and shape can lead to more compelling and dynamic artwork.
Understanding Why Distortion Works
At the heart of this class is the idea that accuracy alone does not always produce the most effective art. You’ll explore why distortion has been used by artists throughout history to communicate emotion, energy, and emphasis. The lesson explains how the human eye and brain interpret visual information and how subtle exaggerations can strengthen composition and storytelling within a drawing or painting.
Distortion Versus Mistakes
One of the most important distinctions made in this class is the difference between intentional distortion and accidental errors. You’ll learn how to distort forms deliberately while maintaining visual logic and believability. This section helps build confidence by showing how thoughtful exaggeration can enhance an image, while unplanned distortions often weaken it.
Manipulating Proportion
The class examines how changes in proportion can influence emphasis and focus. You’ll see examples of how enlarging or reducing certain elements can direct the viewer’s attention and reinforce the subject’s importance. Through practical demonstrations, you’ll learn how to exaggerate proportions without breaking the overall structure of the image.
Exploring Perspective and Space
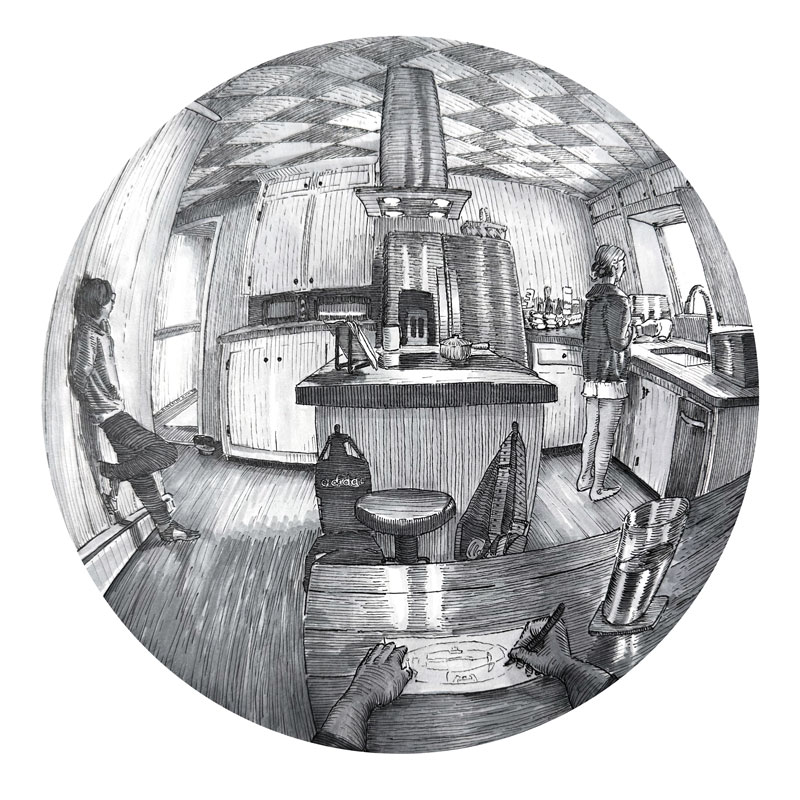
Perspective plays a key role in distortion, and this lesson demonstrates how bending or pushing traditional perspective rules can create drama and depth. You’ll learn how to stretch space, alter viewpoints, and adjust angles to produce a more engaging visual experience. These techniques are especially useful for creating dynamic compositions that feel immersive and energetic.
Using Shape and Line Expressively
The class also focuses on how shape and line can be distorted to communicate movement and emotion. You’ll explore how curved, angular, or exaggerated lines can suggest tension, flow, or stability. By simplifying and manipulating shapes, you’ll gain greater control over the visual rhythm of your artwork.
Applying Distortion to Real Subjects
Rather than working only with abstract ideas, the class demonstrates how distortion can be applied to real-world subjects. You’ll see how figures, objects, and environments can be altered while remaining recognizable. This approach helps you understand how to balance realism with creative freedom, resulting in artwork that feels both grounded and expressive.
Enhancing Composition Through Distortion
Composition is strengthened when distortion is used thoughtfully. This section of the class shows how exaggeration can help unify a composition, create stronger focal points, and improve visual flow. You’ll learn how to evaluate your work and make adjustments that enhance impact without overwhelming the viewer.
Developing Personal Style
Distortion is often a defining element of an artist’s personal style, and this class encourages experimentation and exploration. You’ll gain insight into how different artists use distortion in unique ways and how you can begin incorporating it into your own work. The lesson emphasizes that style evolves through intentional choices rather than rigid rules.
A New Way of Seeing
By the end of The Art of Distortion class, you’ll have a deeper understanding of how and why distortion can elevate your artwork. The concepts presented will change the way you observe subjects and approach drawing and painting. This lesson provides valuable tools for artists who want to move beyond strict realism and create images that are more expressive, dynamic, and visually engaging.
Specific Lessons
Lesson 1 (1:21:50)
In lesson one, we develop a "rounded" grid which will be used to create the final drawing.
Lesson 2 (1:04:27)
In lesson two, we begin with the line drawing within the grid.
Lesson 3 (1:06:40)
In lesson three, we complete the line drawing within the grid.
Lesson 4 (1:05:55)
In lesson four, we begin with ink applications.
Lesson 5 (1:03:12)
In lesson five, we continue with pen and ink applications.
Lesson 6 (1:08:25)
In lesson six, we continue with pen and ink applications.
Lesson 7 (1:11:45)
Pen and ink applications continue in lesson seven.
Lesson 8 (1:04:17)
We finally complete the pen and ink applications.
Lesson 9 (1:05:26)
In lesson nine, we begin with marker applications.
Lesson 10 (1:12:36)
In lesson ten, we complete the drawing with markers.
Resources for this Lesson...
Distributing any content downloaded from this site is strictly prohibited and against the terms and conditions of use.
References
Here's what you'll need...
(Disclosure: Links to art materials are affiliate links which means we make a small commission if you purchase at no additional cost to you.)

Expert teacher and visual artist. Ashley is encouraging and makes creating art easy to understand.
Hello Ashley/Matt,
I have the Prismacolor Premier Markers with 3 each warm gray, cool gray & French in the set. Would those be acceptable or should I invest int the Copic set you showed in the first lesson?
Thanks,
Lenet
Hi Lenet,
Absolutely! You can use any brand of alcohol-based markers that you wish!
Thanks. Was wondering if I would have enough tonal range, since Ashley’s choice has 5 values. But I think I can add enough value even if I have to do multiple layers.
I’m scared of that drawing now
I’m nine years old so I used my pocket money to get access to this website 🙂🙂🙂🙂🙂🙂🙂🙂🙂🙂🙂🙂🙂🙂🙂🙂🙂🙂🙂🙂🙂🙂🙂🙂🙂🙂🙂🙂🙂🙂🙂🙂🙂🙂🙂🙂🙂🙂🙂🙂🙂🙂🙂🙂🙂🙂🙂🙂🙂🙂🙂🙂🙂🙂🙂🙂🙂🙂🙂🙂🙂🙂🙂🙂🙂🙂🙂🙂🙂🙂🙂🙂🙂