
Landscape with Watercolor

About This Lesson Series...
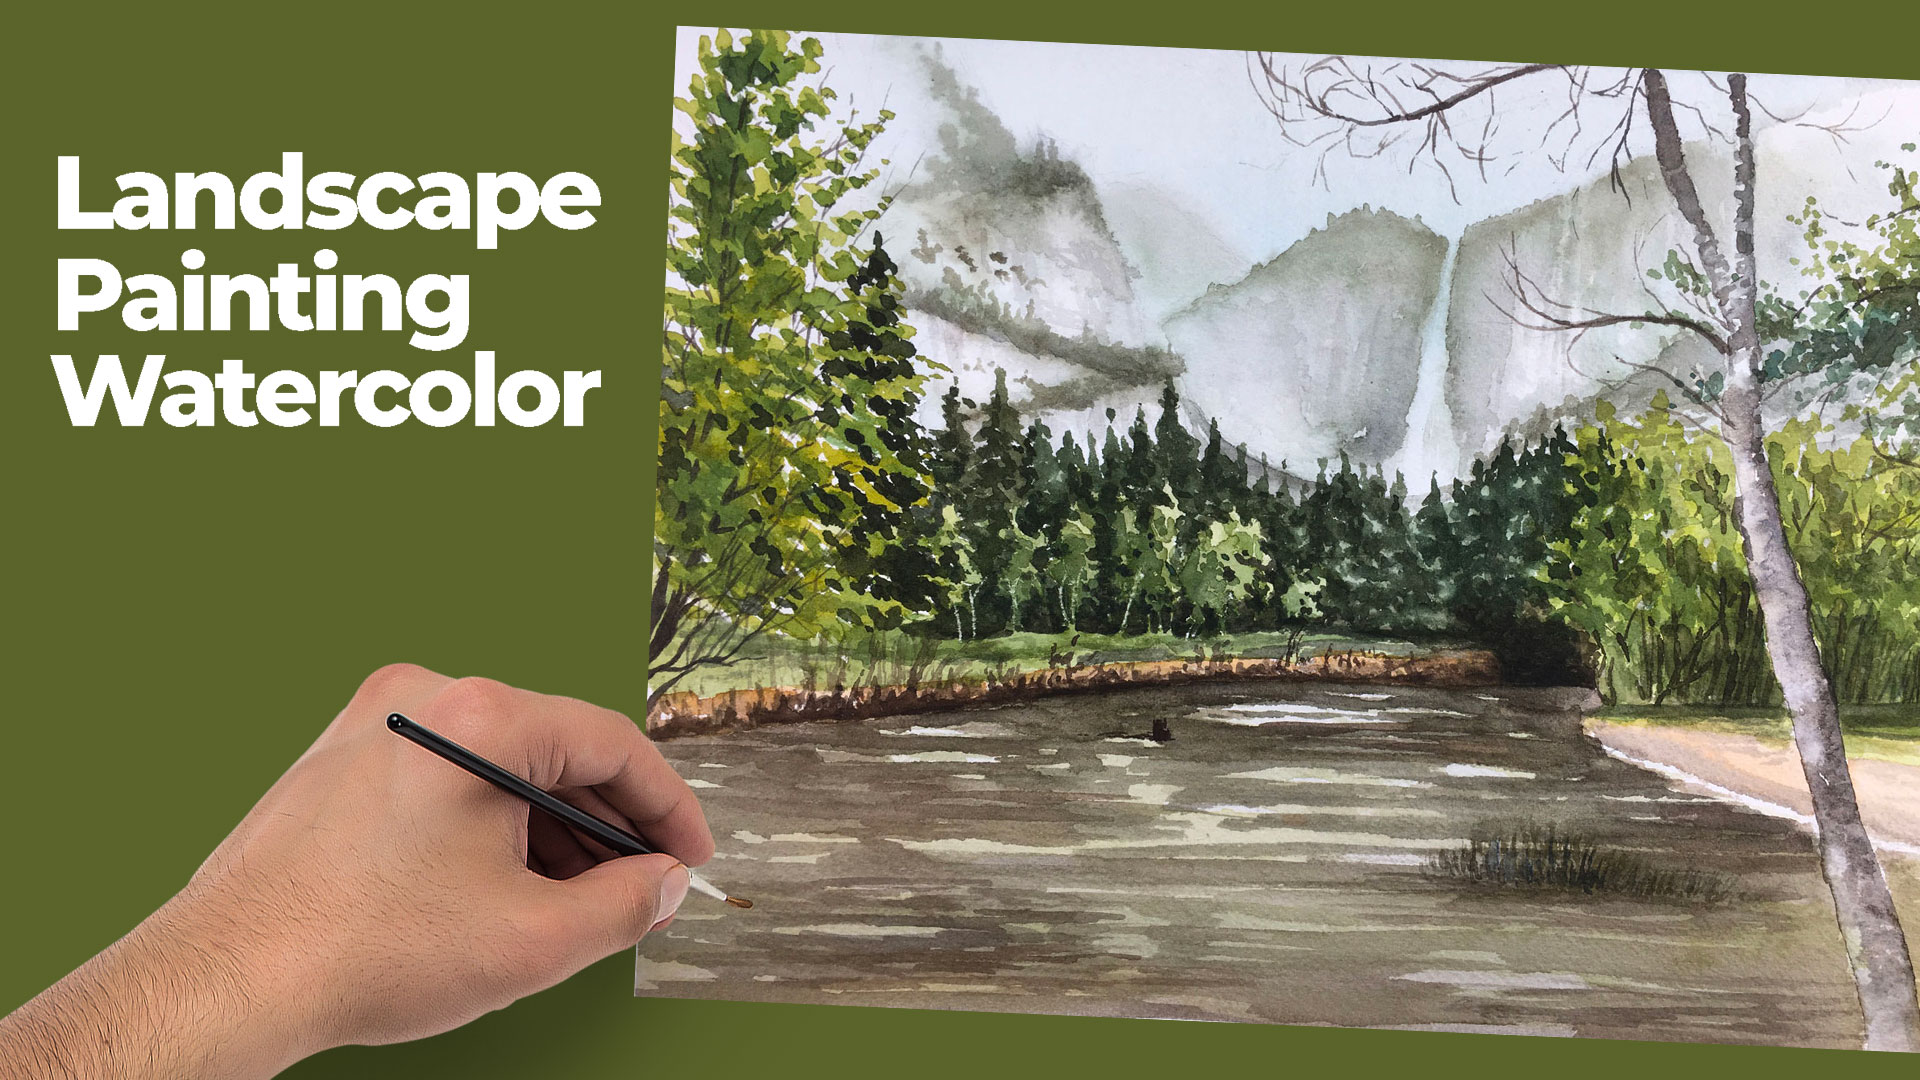
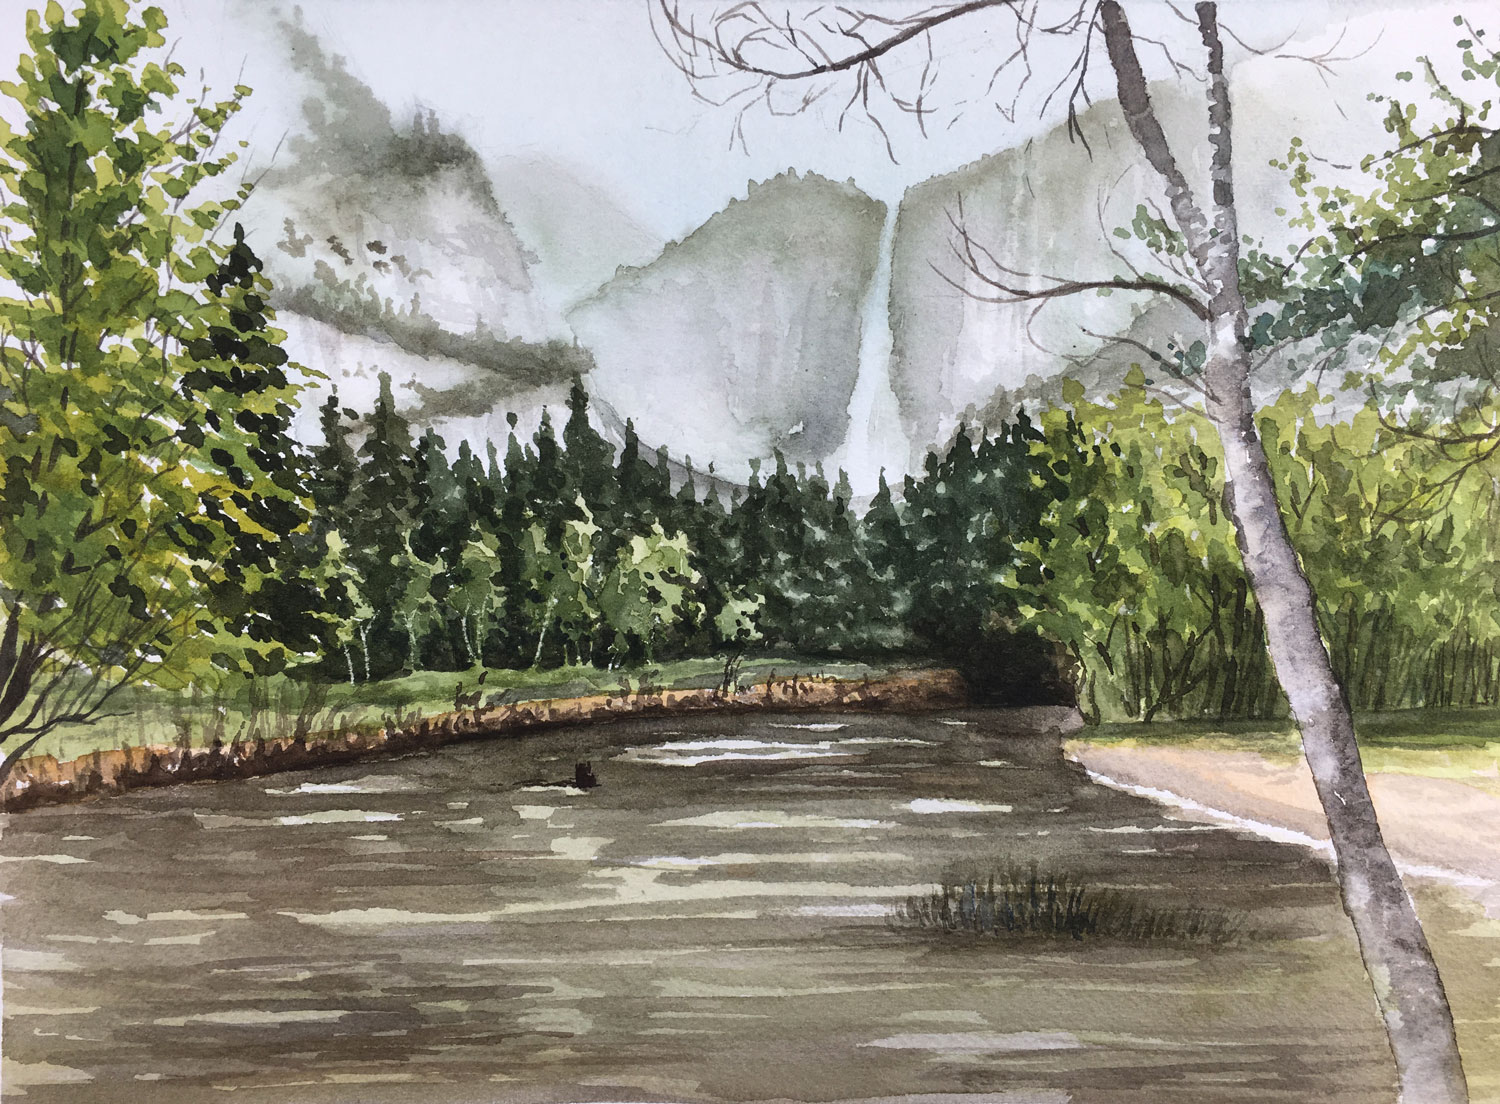
This lesson series is an in-depth, start-to-finish painting experience focused on creating a scenic watercolor landscape featuring a distant waterfall. In this engaging live-format lesson series, artists follow along step by step as the painting develops from a simple sketch to a fully realized composition. Along the way, essential watercolor techniques are demonstrated and explained, helping students better understand how to control washes, build layers, and capture the beauty of natural scenery.
Materials and Preparation
The series begins with a discussion of materials and setup. Students learn about selecting watercolor paper, choosing brushes suited for both broad washes and fine details, and organizing a palette for effective color mixing. A light preliminary sketch is created to establish the placement of major elements — including the sky, distant hills, trees, and the focal point of the composition, the waterfall. This foundation ensures strong proportions and perspective before paint is applied.
Building the Landscape with Washes
Once the drawing is in place, the painting begins with broad, transparent washes that establish the sky and distant background. The instructor demonstrates how to use wet-on-wet techniques to create soft transitions and atmospheric depth. By carefully controlling water and pigment, subtle gradients are formed that push distant elements back in space. As layers dry, additional washes are applied to gradually strengthen values and define shapes within the landscape.
Creating Depth and Atmospheric Perspective
A major focus of the lesson series is developing depth through value contrast and color temperature. Cooler, lighter tones are used for distant features, while warmer and darker applications help bring foreground elements forward. The waterfall is carefully developed using controlled edges, lifted highlights, and layered glazes to suggest movement and light. Through thoughtful placement of contrast, the waterfall becomes a compelling focal point within the scene.
Detailing Natural Elements
As the painting progresses, attention turns to refining details in the trees, rocks, and flowing water. Dry-brush techniques are introduced to suggest texture in foliage and rugged terrain. Students observe how small, intentional strokes can imply complexity without overworking the painting. The instructor emphasizes balance — knowing when to add detail and when to allow watercolor’s natural softness to remain visible for a fresh, luminous effect.
Artistic Decision-Making and Final Touches
Throughout the live sessions, artistic decisions are discussed openly. Students gain insight into choosing harmonious color palettes, adjusting contrast for visual impact, and preserving highlights to maintain vibrancy. Final touches are added thoughtfully, enhancing focal areas while ensuring the overall composition remains cohesive and balanced.
What You’ll Gain from This Series
By the end of the Watercolor Landscape Live Lesson Series, you’ll have completed a beautifully layered watercolor painting of a landscape with a distant waterfall. More importantly, you’ll gain a stronger understanding of watercolor techniques such as layering washes, controlling edges, creating atmospheric perspective, and capturing the dynamic qualities of nature. Whether you are new to watercolor or seeking to refine your landscape painting skills, this series provides clear instruction, practical techniques, and artistic insight that you can apply to future projects.
Here's what you'll need...
- Watercolor Paper
- Watercolor Paints
- H Graphite Pencil
- Paper Towel
- Nylon Brushes

Founder of The Virtual Instructor, artist and teacher. Matt makes learning art easy to understand and enjoyable.
NO VIDEO. the lesson doesn’t do much without the video
Hi Dick,
The video is playing normally. Please make sure that you have a strong internet connection to watch the video.
Hi! Mat, what’s the difference painting with watercolor versus waterpencil. Would you get the same effect.
Hi Lisa,
Watercolor pencils are applied and then activated on the surface by adding water. Colors are mixed directly on the surface by layering. This creates a slightly different effect and many times the texture of the mark made with the pencil is still visible.
Ok thanks
Matt I have one more question. You have any tips on doing a self portrait.
first time trying the live lesson live. Can you see my comment? If so please let me know. Thanks Mary
This really is great! I have a problem to download Lesson Two’s video. No download link is to be found on page.
I mean the lessons are great!
HI Linda,
Click on the tab on the left to go to the second video in the series. You’ll see a link under the video which will take you to the download page for the second lesson.
I really like the effects of watercolor the bleeding
can create some interesting patterns that can actually
be a help with certain details like rocks, mountains,
and clouds etc.. great session Matt.
Thanks Jerry!
Matt love your work and I’m certainly learning a lot from you. I’m new to watercolour painting and love it.
Awesome, thanks Barb!
I wish I could see you mixing the colors from time to time to see the amounts of paint to water on the pallet
What size brushes?
What size brushes?
Very helpful as I prefer somewhat abstract or loose landscapes,especially if there are vague buildings included. Like the way you make your foliage; this is somewhat my Achilles heel, and you helped me a lot in this regard. More watercolor, please. Love your program. Tom