
Oil Pastel Landscape - Lone Tree
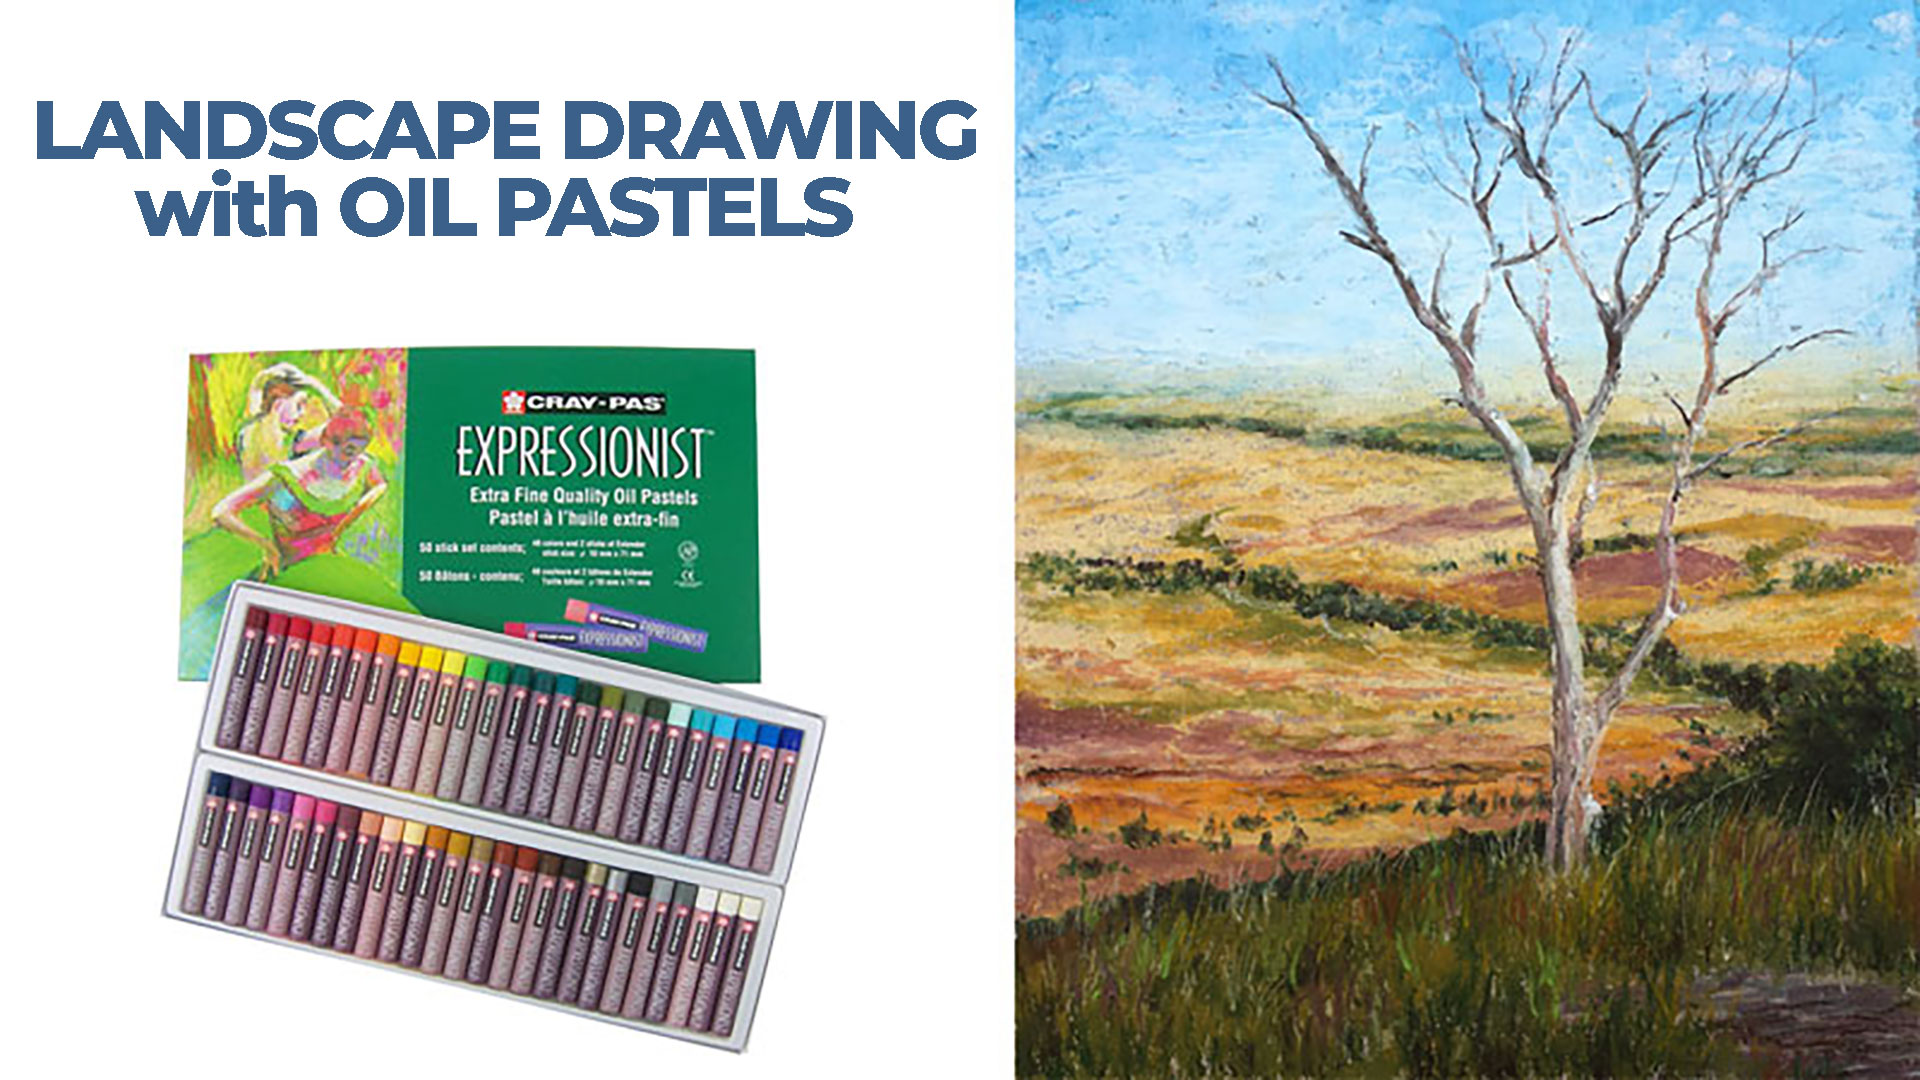

About This Lesson Series...
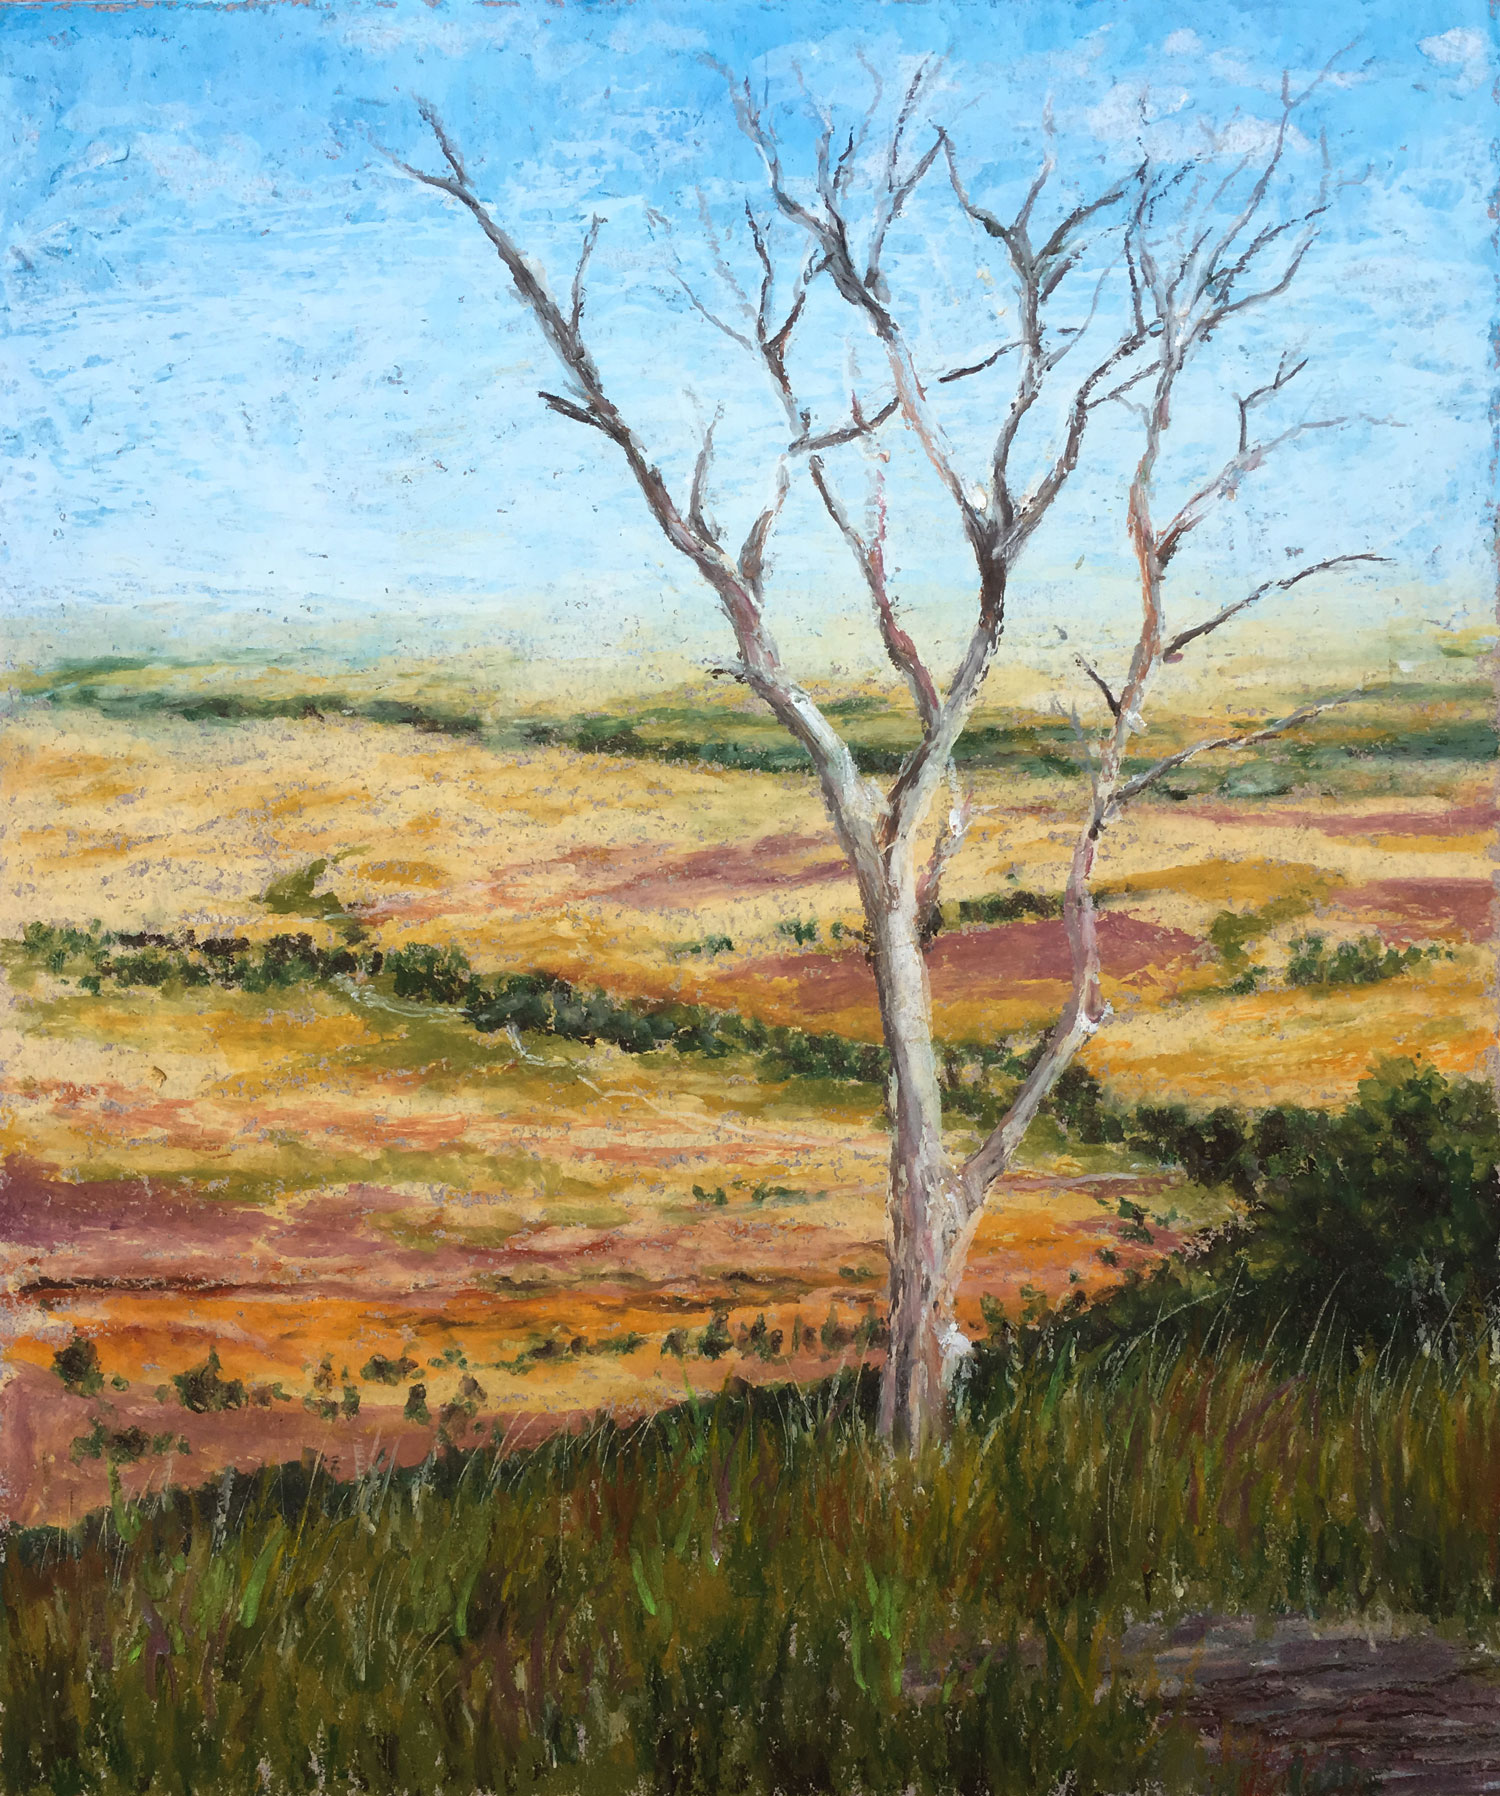
The Oil Pastel Landscape: Lone Tree lesson series is a comprehensive instructional course that teaches artists how to use oil pastels to create a compelling landscape drawing centered around a solitary tree. Over multiple video lessons, students are guided step by step through the entire creative process — from preparing their materials and planning their composition, to layering, blending, textural development, and final refinements. This series is designed for artists of all levels who want to explore the vibrant, expressive qualities of oil pastels while learning how to capture light, atmosphere, and form in a landscape setting.
Materials and Setup
Before making marks, Matt reviews the essential materials for this lesson series. A quality set of oil pastels in a range of warm and cool colors is recommended, along with a textured paper or pastel board that can hold multiple layers of pigment. Tools for blending, such as paper stumps, cotton swabs, or even fingers, are discussed to help students achieve smooth transitions and atmospheric effects. Understanding the properties of oil pastels — their creamy consistency, layering capabilities, and vibrant pigmentation — sets the stage for effective use throughout the series.
Planning the Composition
The series begins by establishing the composition and layout of the landscape. Matt explores how to position the lone tree as a focal point while balancing the surrounding elements such as sky, distant hills, and foreground texture. Students learn how to translate a reference photo or plein air observation into a simplified structure that guides their pastel work. This preparatory step helps clarify value relationships and color choices before any pastels are applied to the surface.
Blocking in Color and Basic Shapes
Once the composition is established, Matt demonstrates how to block in broad areas of color and shape. This involves laying down initial sky tones, distant landscape hues, and the basic silhouette of the tree with loose, confident pastel strokes. Students observe how to use complementary and analogous colors to create atmospheric depth, and how to place darks and lights strategically to define the structure of the landscape. At this stage, emphasis is placed on covering the surface efficiently while preserving light areas that will become highlights later.
Layering and Refining Detail
As the lesson series continues, more refined layers of pastel are added. The instructor shows how to blend edges, enrich color saturation, and create nuanced transitions between sky, ground, and foliage. Special attention is given to developing the texture of the lone tree, using varied strokes and contrasting values to suggest depth and dimensionality. Techniques such as scumbling, light pressure blending, and layering multiple hues help students capture the complexity of natural forms. These methods create a dynamic surface that balances vibrant color with painterly subtlety.
Final Touches and Artistic Choices
In the final lessons, Matt focuses on polishing the piece — enhancing contrasts, reinforcing focal areas, and unifying the composition. Students receive guidance on how to evaluate their work, make selective adjustments, and bring harmony to the overall piece. Beyond technique, the instructor shares insights on artistic decision-making, such as how to use color temperature and value contrast to evoke mood, and when to simplify details to maintain visual clarity.
What You’ll Gain
By the end of this lesson series, students will have completed a richly layered and expressive landscape drawing that demonstrates their growing mastery of oil pastel techniques. More importantly, they will have gained confidence in planning, layering, blending, and refining a complex subject in a way that harnesses the unique qualities of oil pastels. Whether you are new to pastel or looking to strengthen your landscape skills, this series offers a structured and inspiring path toward becoming a more capable and expressive artist.
Here's what you'll need...
- Oil Pastels
- Toned Pastel Paper

Founder of The Virtual Instructor, artist and teacher. Matt makes learning art easy to understand and enjoyable.
Thank you! I enjoyed exploring a new medium; I quite like oil pastels! Wish I could participate “live” but you are so personable, it is nearly as good recorded.
Can you please share where to buy these toned pastel paper? thanks
Hi Lei,
You can usually find it at your local art store, but if not, you can always pick it up at Amazon.com. Look for Canson Mi-Teintes paper.
I would like to see a bare tree in oil painting lesson.
Please advise the Brand you prefer for oil pastels? Thank you. Anne
Matt — I am just curious to learn what is the heaviest tooth of paper made for a design such as this one? I learned tonight that you chose a smooth paper to create easier transitions, but I am wondering what the heaviest tooth paper you could use for a painting that required a lot of layers? Per usual — I think your classes are wonderful beyond words! Thank you. Anne
Hi Anne,
The heaviest tooth surface that you may use could be “rough” watercolor paper – not to be confused with “cold press” watercolor paper. There are lots of variations in between though and using the textured side of Mi-Teintes paper will likely be enough.
The image becomes 3 dimensional by using forms and values to trick the eye into seeing what is really not there. I understand now why concentrating on large forms (cubes, cylinders etc) and values at the start of learning any fine art, is so important. thank you for this lesson!
Hi Matt
I am learning so much from your lessons. I joined a class in my town of Tenterden England last March in the hope that my need to create a masterpiece would be fulfilled however, it was very generic,without any interest in the achievement and improved learning potential for the students.
You are completely different …..you care about helping your students to be the best they can and to achieve the techniques that will help them create work to be proud of.
Thank you Matt…..My paintings may be found on the walls of the London National Gallery in a couple of centuries time, thanks to you😊I am aiming high🤣
Kindest regards
Karen