
Portrait Drawing with Pastels

About This Lesson Series...
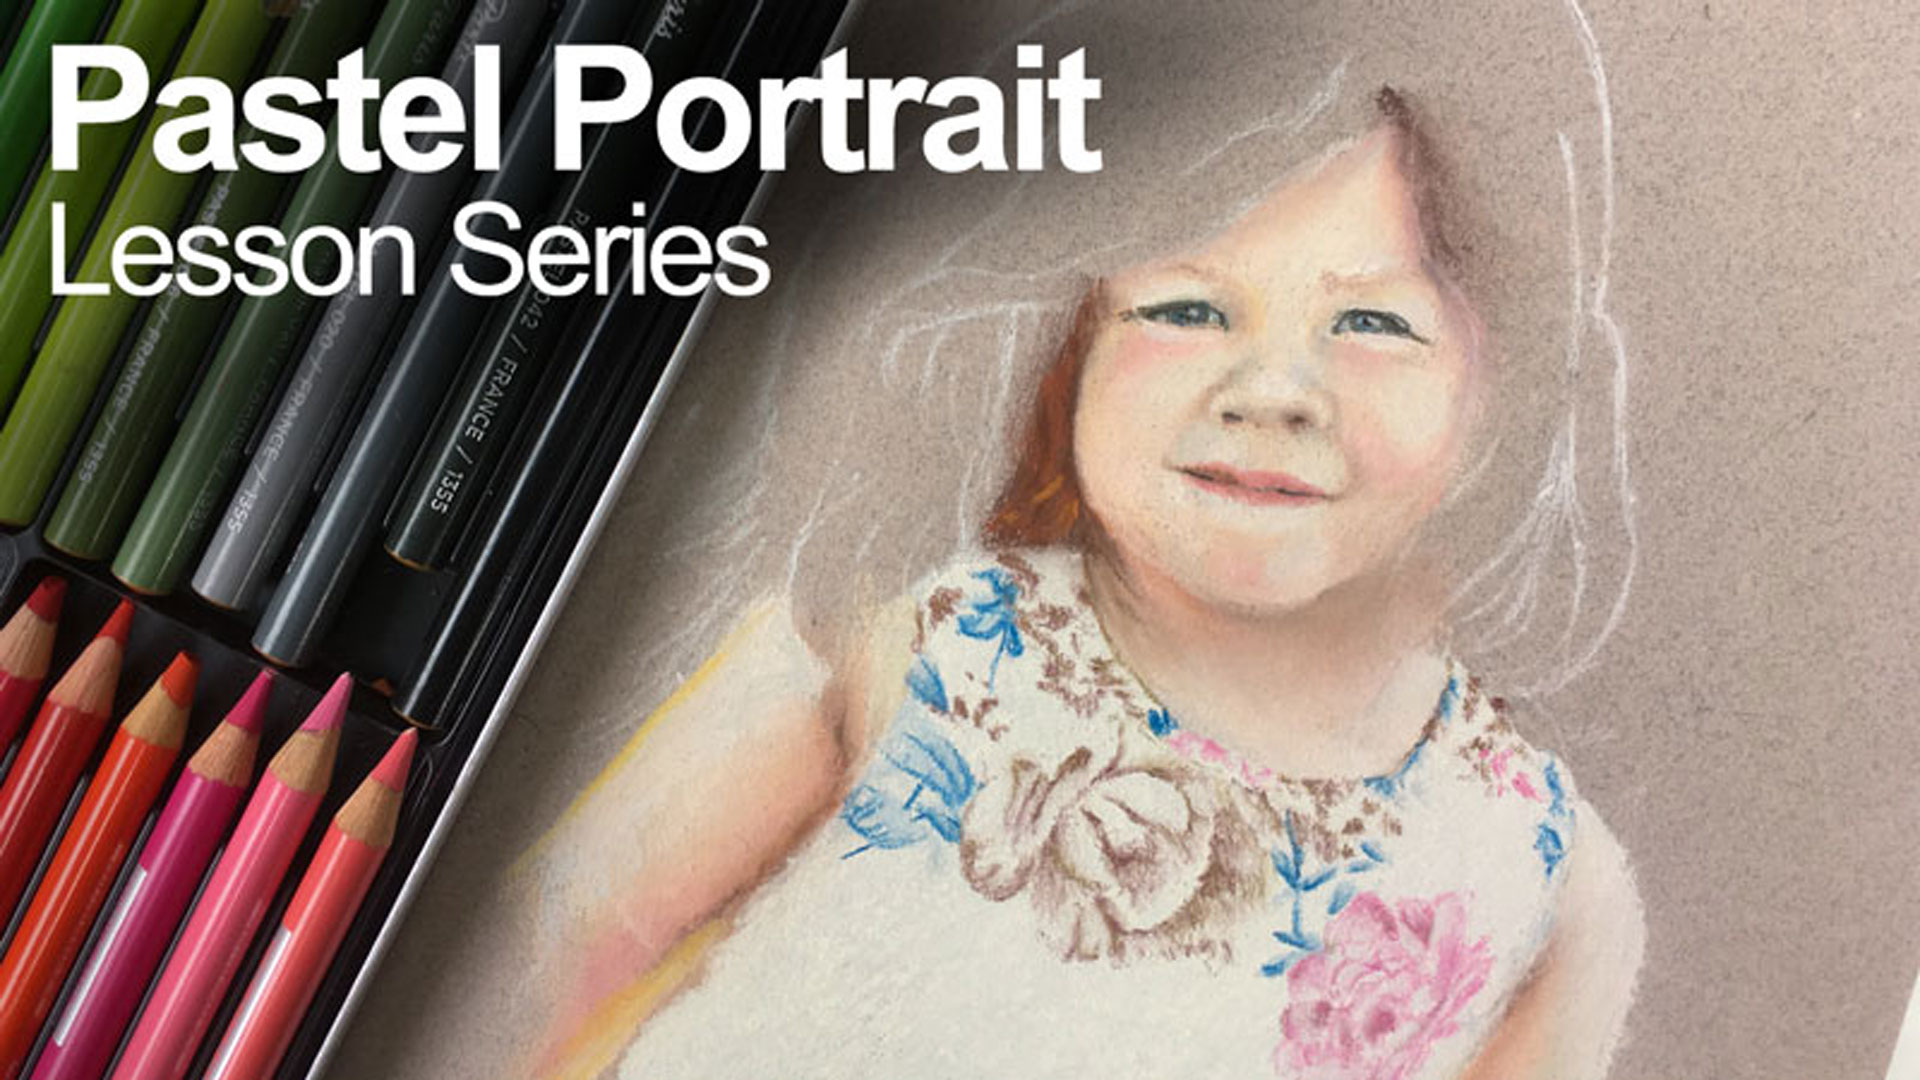
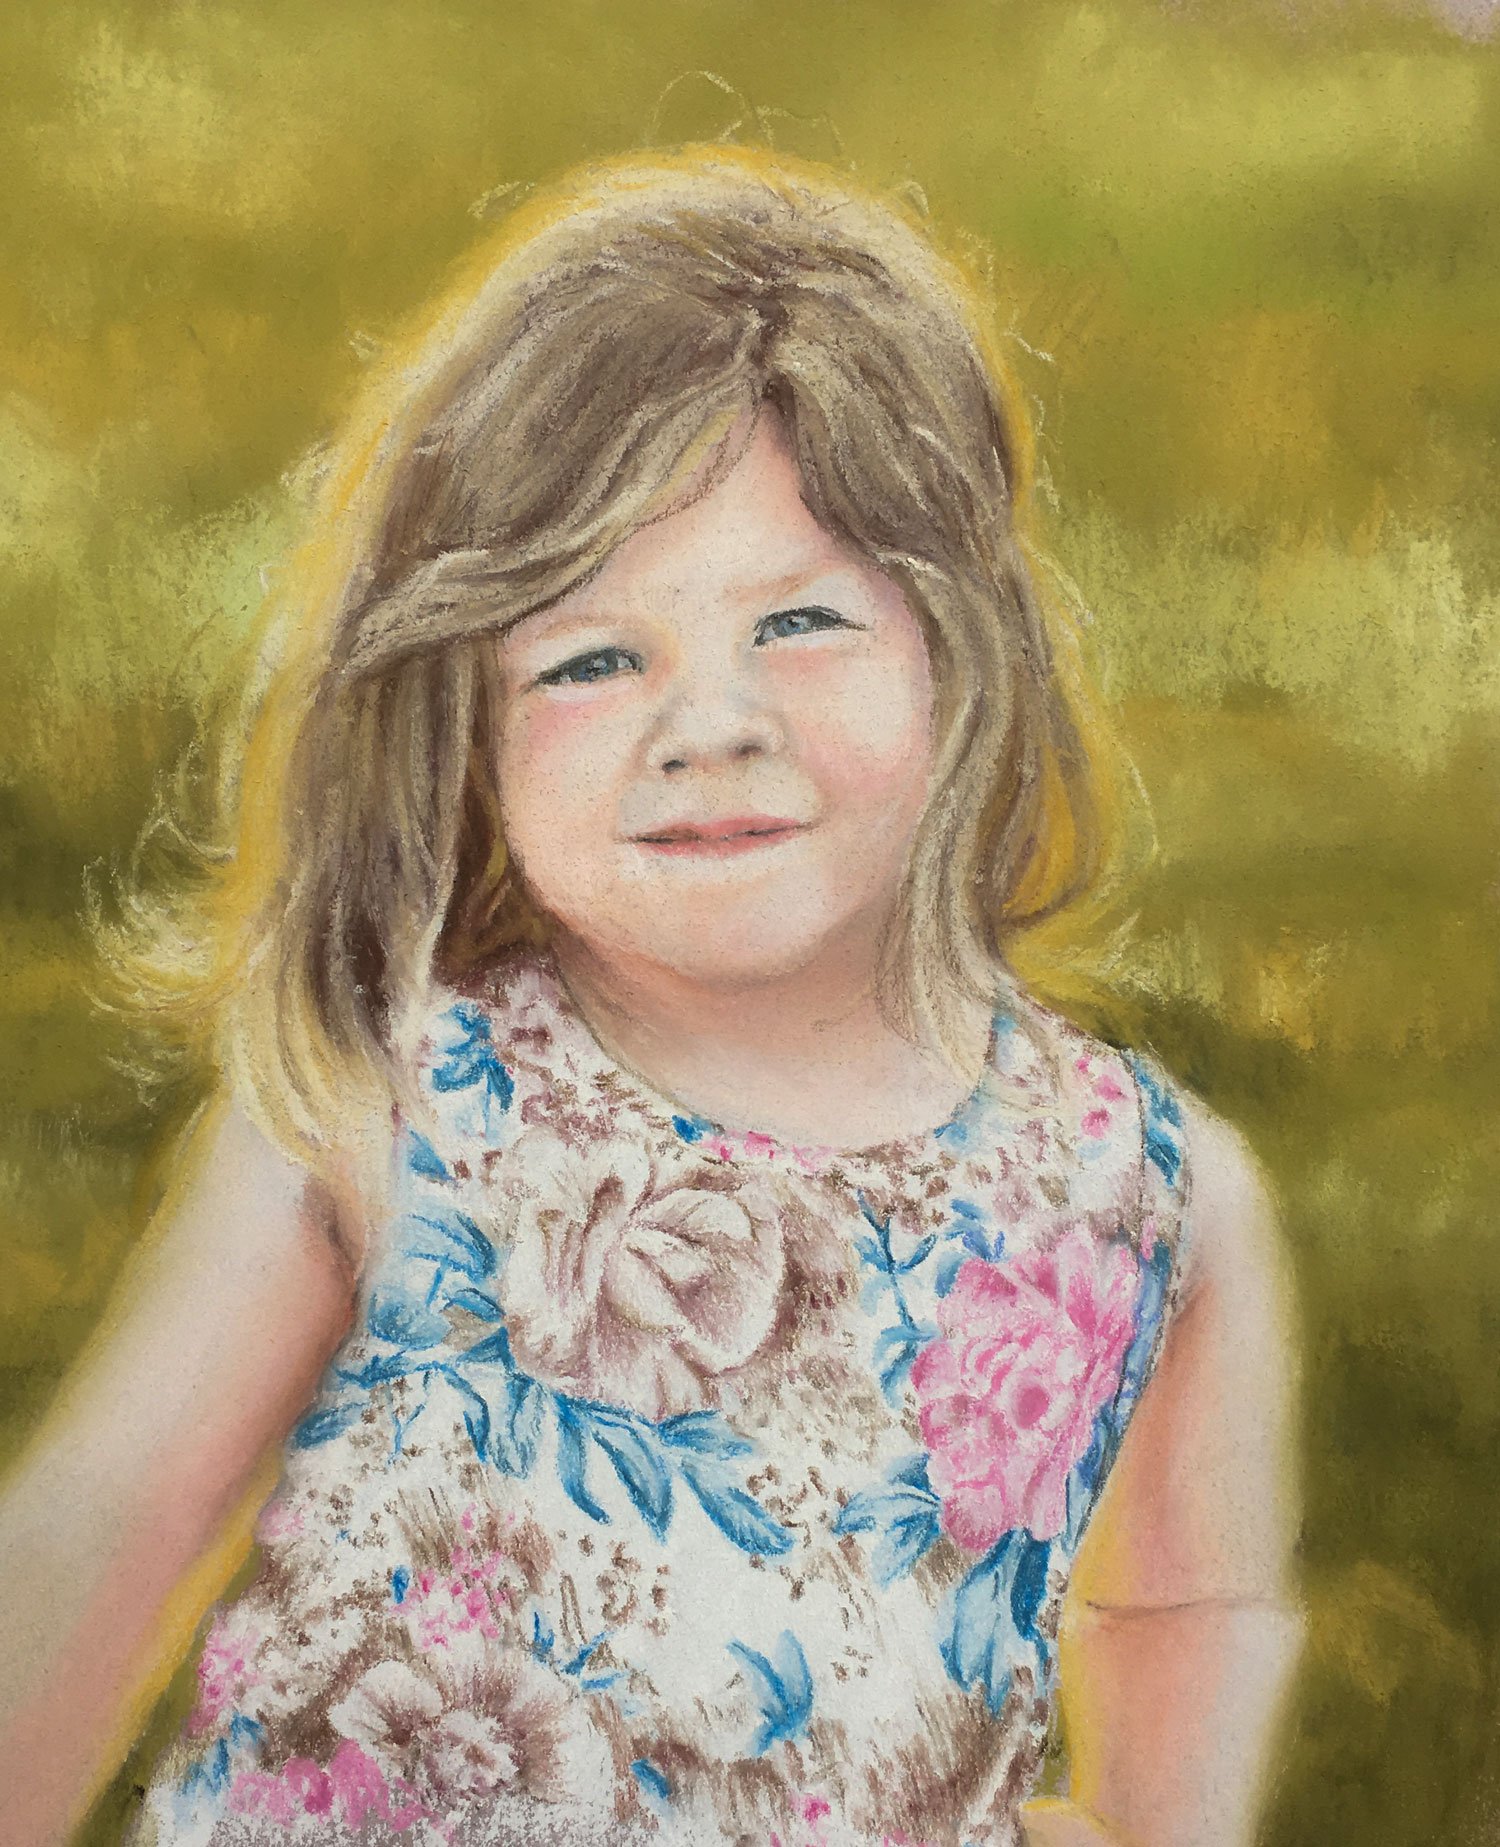
In this engaging and comprehensive lesson series, instructor Matt guides students through the complete process of creating a stunning pastel portrait of a young girl. Working on toned gray drawing paper with soft pastels and pastel pencils, this class is designed to demystify portrait drawing while building confidence in both technique and observation. With a clear, step-by-step approach, students are led from the initial sketch to the final refined image, gaining valuable skills along the way.
A Structured, Step-by-Step Approach
This five-part series provides over five hours of in-depth instruction, carefully organized to walk students through each stage of the portrait process. From the very beginning, Matt demonstrates how to accurately transfer the contours of the subject to the drawing surface, ensuring strong proportions and a solid foundation. This early focus on accuracy helps eliminate guesswork and allows students to concentrate on developing the portrait with confidence. :contentReference[oaicite:0]{index=0}
As the drawing progresses, students learn how to build layers of color gradually, using soft pastels to establish the base tones and develop the structure of the face. The toned gray paper plays a critical role, providing a mid-value surface that allows both highlights and shadows to emerge naturally. This approach not only enhances depth but also speeds up the process of achieving realistic values.
Mastering Skin Tones and Color Relationships
One of the key focuses of this class is the creation of convincing skin tones. Matt demonstrates how to mix and layer colors to achieve natural variations in hue and value, avoiding flat or lifeless results. Students discover how subtle shifts in warm and cool tones can bring the portrait to life, while strategic layering creates a sense of dimension and form. :contentReference[oaicite:1]{index=1}
Rather than relying on a single color for shadows or highlights, the course emphasizes the importance of color relationships. This method not only improves realism but also encourages a more painterly and expressive approach to portraiture.
Refining Details with Precision
As the portrait develops, attention shifts to the finer details. Pastel pencils are introduced to sharpen edges, refine features, and add intricate elements such as the eyes, lips, and hair. These tools allow for greater control and precision, helping students elevate their work from a rough rendering to a polished, finished piece. :contentReference[oaicite:2]{index=2}
Matt carefully demonstrates how and when to add these details, ensuring they enhance the portrait rather than overwhelm it. This balance between softness and precision is key to achieving a realistic and visually compelling result.
Bringing Light and Life to the Portrait
In the final stages of the series, students learn how to push contrast and add highlights to create a strong sense of light. These finishing touches unify the portrait and draw attention to the focal areas, giving the artwork a sense of vibrancy and life. By the end of the class, students will have a deeper understanding of how light interacts with form and how to use it effectively in their own work. :contentReference[oaicite:3]{index=3}
Build Confidence in Portrait Drawing
This lesson series is ideal for artists who want to improve their portrait skills while exploring the unique qualities of pastels. With clear instruction, practical techniques, and a supportive teaching style, Matt makes the process approachable and enjoyable. Whether you are new to pastels or looking to refine your portrait work, this class provides the tools and guidance needed to create a beautiful, expressive portrait from start to finish.
Here's what you'll need...
- Soft Pastels
- Toned Pastel Paper
- Pastel Pencils
- Masking Tape
- Sharp Pencil or Pen

Founder of The Virtual Instructor, artist and teacher. Matt makes learning art easy to understand and enjoyable.
Wonderful lesson! So helpful!
Thanks Karen!
Looking forward to you using the pencils on top of the soft pastels
When will you be working on this one again?
Hi Lisa,
This series is over. You can watch all of the videos in the series by clicking on the tabs out to the left of the video. There are five one-hour long lessons.
Can’t wait to have a go, who is the little girl in photo?
Is it your daughter Matt x
Hey Mat, I just watched the first lesson and I loved it and Leart a lot about image transfer.
I have a question regarding that, what kind of paper did you use for it? Also can I use regular A4 printing paper for this?
Hi Nesreen,
Yes, regular typing paper or printing paper is acceptable. This is what was used to transfer the image in this lesson.
Do you put any kind of sealer on the pastel portrait, and when framing is acid free need to be covering the picture?
Hi Karen,
Some folks like to use fixative to protect the art. I usually don’t use any fixative since it can change the tone of the colors. Yes, always look for acid free mat board – most of it is already – when framing your art.
Hi Matt, am really loving the course and especially these live lessons. I’m learning so much! This is a beautiful picture of a beautiful little girl. I thought it was your daughter as she looks so much like you, then at the end someone said she was your niece. I’ve started a pastel drawing of my baby nephew since finding this live lesson. I’m really enjoying myself and following all your tips. My main issue is with getting the colours right for skin tones. I used dark umber for the darker tones and, as you say, it looks much better than black. Thanks again for giving me an outlet in my rehab from a chronic illness I’ve suffered many years and motivating me to keep going with my drawing!
Hi Matt, I was wondering if I could do this on a canvas? How would I go about this? Should I cover the canvas so that it is toned? Will the end result differ much from the paper? I would really love to put all nine of my kids on one canvas! ( Don’t worry, I have a very large canvas and wall) 😉😁
I am having trouble with streaming it pauses a lot.
Hi Deys,
You may want to choose a lower quality to stream if you are experiencing buffering. To do so, scroll over the video and click on the small gear icon. Choose a lesser quality and you should notice less buffering.
I like you because blend with your finger and so do I. One of my art teachers said you should not use your finger because your skin has oil which might affect the picture.
No