
Portrait with Oil Pastels

About This Lesson Series...
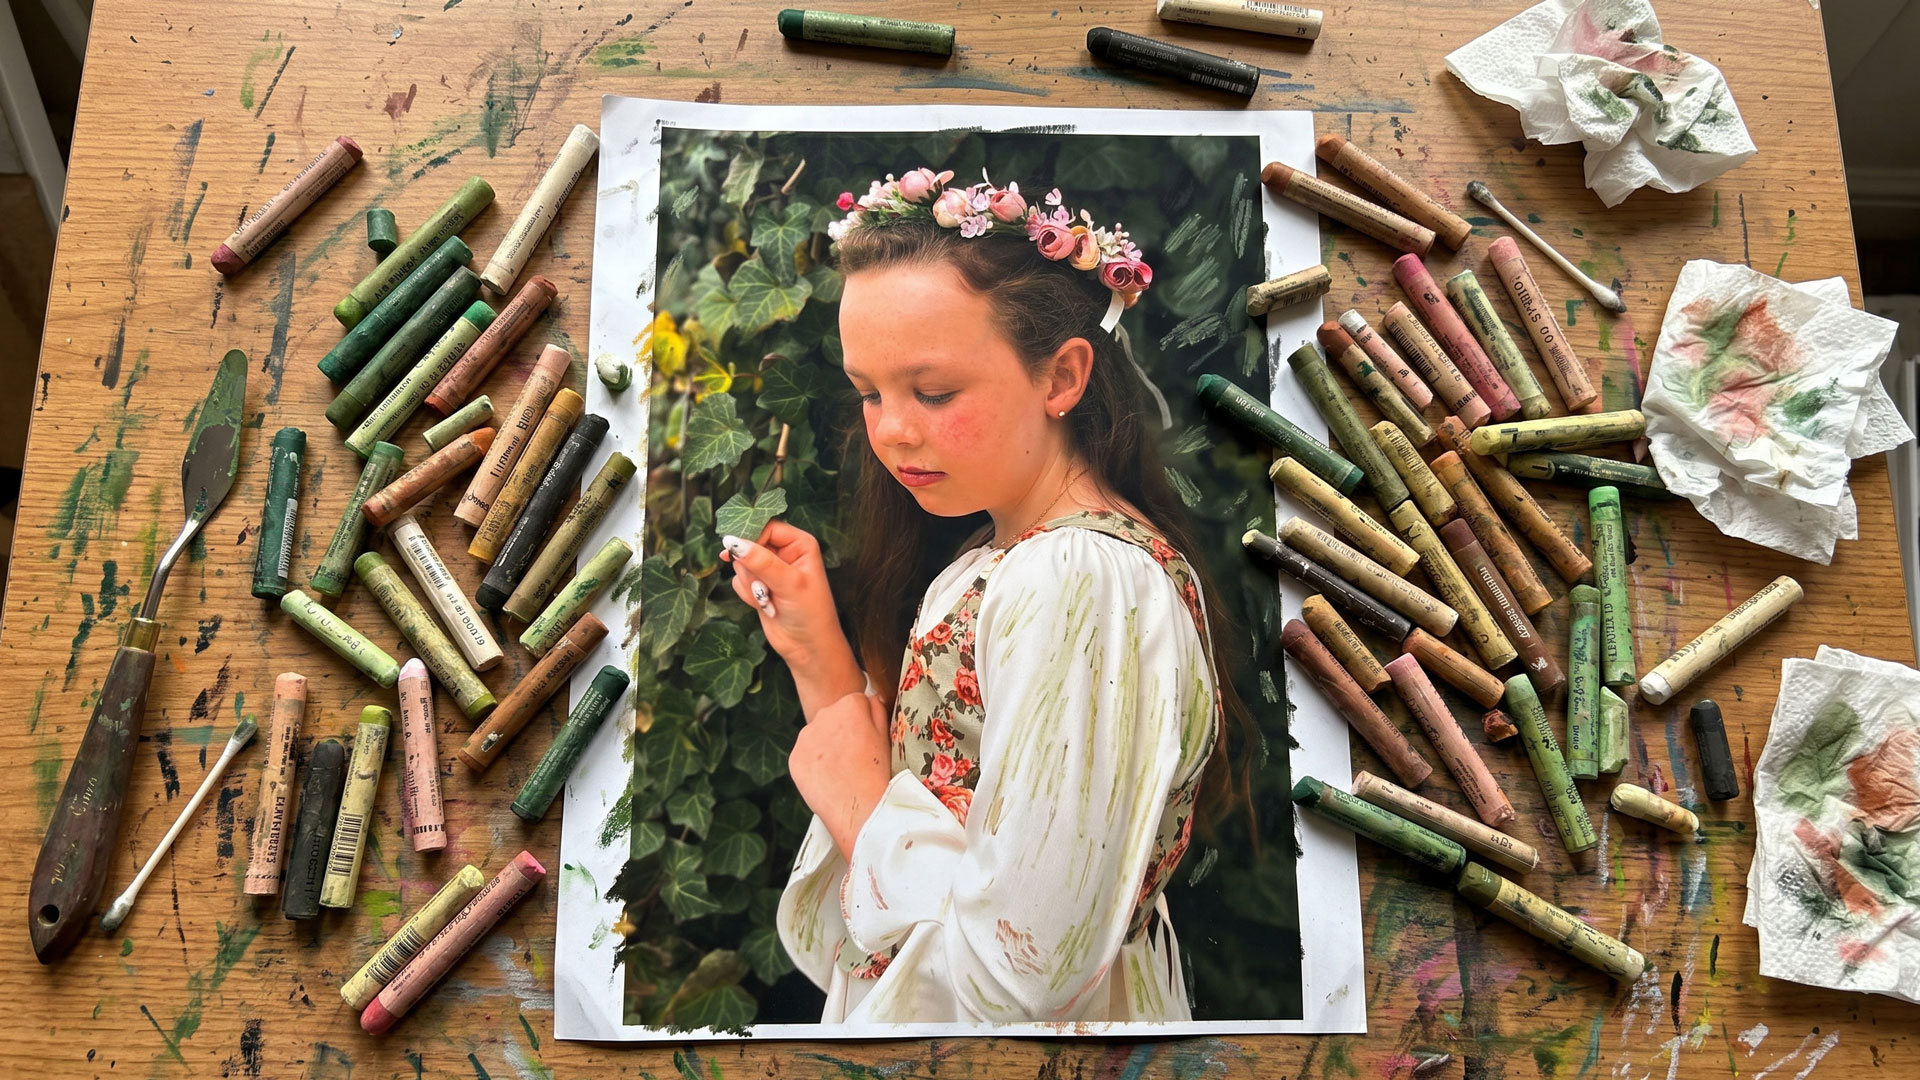
In this class lesson series, Matt guides students through the complete process of creating a colorful portrait drawing with oil pastels. Portraiture can feel intimidating because it requires accuracy, sensitivity, and a strong understanding of proportion, value, and color. Oil pastels add another layer of challenge because they are bold, expressive, and highly pigmented. However, when approached step by step, they become a powerful medium for building rich skin tones, soft transitions, and vibrant color relationships.
Throughout the series, students learn how to move from a carefully planned graphite drawing to a fully developed oil pastel portrait. Each stage builds naturally on the previous one, allowing students to focus first on accuracy, then on layering color, and finally on refinement. By the end of the series, students will have completed a finished portrait while gaining confidence with both portrait drawing and oil pastel techniques.
Materials and Surface
The first lesson begins with a discussion of the materials and surface used throughout the project. Matt introduces the oil pastels, graphite pencils, erasers, and drawing tools needed for the series, explaining how each material contributes to the final result. Students also learn why the choice of surface is important when working with oil pastels. Because oil pastels are thick and waxy, the surface must be able to accept multiple layers while still allowing for control and detail.
Matt also discusses how oil pastels behave differently from other drawing and painting media. Unlike colored pencils, oil pastels cover the surface quickly and create bold areas of color. Unlike traditional soft pastels, they have a creamy consistency that allows for blending, layering, and expressive mark-making. Understanding these qualities early helps students approach the medium with realistic expectations and greater confidence.
Creating an Accurate Graphite Drawing
Before any oil pastel is applied, students create a careful graphite drawing of the subject. Accuracy is especially important in portraiture because small errors in proportion can affect the likeness of the subject. To help ensure correct placement, Matt demonstrates how to use a grid method. The grid provides a reliable structure for transferring the reference to the drawing surface and helps students compare shapes, angles, and distances more objectively.
During this stage, students focus on the major features of the face, the overall shape of the head, the placement of the hair, the dress, and the background elements. The goal is not to create a fully shaded graphite drawing, but to establish a clean and accurate foundation that will support the oil pastel applications that follow. By taking the time to carefully plan the drawing, students reduce frustration later in the process and can focus more fully on color and value development.
Beginning the Oil Pastel Applications
After the graphite drawing is complete, the lesson series transitions into oil pastel applications. Matt begins by demonstrating how to apply initial layers of color lightly and strategically. Instead of trying to finish one area immediately, students learn to build the portrait gradually. This approach allows colors to be adjusted, values to be developed slowly, and the overall harmony of the drawing to remain intact.
The early layers establish the basic skin tones and larger color relationships. Matt shows how to observe warm and cool shifts within the face, noting that skin is never just one color. Subtle variations of peach, pink, brown, orange, red, and even cooler tones may be layered together to create a natural and believable complexion. Students learn how to avoid flat color by paying close attention to value changes and temperature shifts.
Developing Skin Tones and Facial Form
As the portrait progresses, Matt focuses more deeply on the development of the face. Oil pastels are layered to create the illusion of form across the forehead, cheeks, nose, lips, and chin. Students learn how highlights, midtones, and shadows work together to describe the planes of the face. Rather than outlining features heavily, Matt demonstrates how gradual shifts in value can define structure more naturally.
Blending is also discussed throughout this stage. Students learn when to soften transitions and when to leave visible strokes for energy and texture. The creamy quality of oil pastels allows colors to mix directly on the surface, but Matt emphasizes the importance of control. Over-blending can make areas appear muddy, while thoughtful layering can create depth, luminosity, and richness.
Color in the Dress and Background
In the following lessons, attention expands beyond the face to include the dress and background. These surrounding areas play an important role in the overall success of the portrait. Matt demonstrates how the colors in the dress can support the focal point while also adding visual interest and personality to the drawing. Students learn how folds, shadows, and highlights in fabric can be built through layered pastel applications and directional strokes.
The background is also developed with care. Rather than treating it as an afterthought, Matt explains how background color and value influence the mood of the portrait and help frame the subject. A thoughtfully developed background can create contrast, depth, and unity while keeping attention on the face. Students learn how to balance detail and simplicity so the background supports the portrait without competing with it.
Refinement and Final Details
As the drawing nears completion, Matt guides students through the refinement process. This includes strengthening contrasts, adjusting color relationships, clarifying edges, and adding final details to the eyes, mouth, hair, dress, and surrounding space. The final stages require careful observation and restraint, since small adjustments can have a significant effect on the overall likeness and finish.
Students also learn how to evaluate the portrait as a whole. Matt encourages stepping back frequently to assess proportion, value, color harmony, and focal point. This broader view helps artists make better decisions and prevents overworking isolated areas.
A Complete Portrait Drawing Experience
By the end of this oil pastel portrait lesson series, students will have completed a vibrant and expressive portrait from start to finish. More importantly, they will have learned a practical process for approaching portraiture with confidence: selecting materials, preparing the surface, using a grid for accuracy, layering oil pastels gradually, developing believable skin tones, and refining color throughout the dress and background. This series provides a strong foundation for future portrait projects and demonstrates how oil pastels can be used to create artwork that is both expressive and carefully observed.
Specific Lessons
Lesson 1 (1:09:52)
In lesson one, we briefly discuss the materials that are used and begin drawing the contours of the young girl with graphite pencil.
Lesson 2 (1:06:36)
In lesson two, we briefly discuss blending with oils pastels and compare the differences between the two brands of oil pastels used. We then begin to add oil pastels to the background, starting in the upper left corner.
Lesson 3 (1:15:04)
In lesson three, we develop several of the ivy leaves with oil pastel applications.
Resources for this Lesson...
Distributing any content downloaded from this site is strictly prohibited and against the terms and conditions of use.
References
Here's what you'll need...
(Disclosure: Links to art materials are affiliate links which means we make a small commission if you purchase at no additional cost to you.)

Founder of The Virtual Instructor, artist and teacher. Matt makes learning art easy to understand and enjoyable.
This is indeed a challenge; just to get the anatomical facial features right + color + value + …