
Urban Landscape with Acrylics

Lessons
About This Lesson Series...
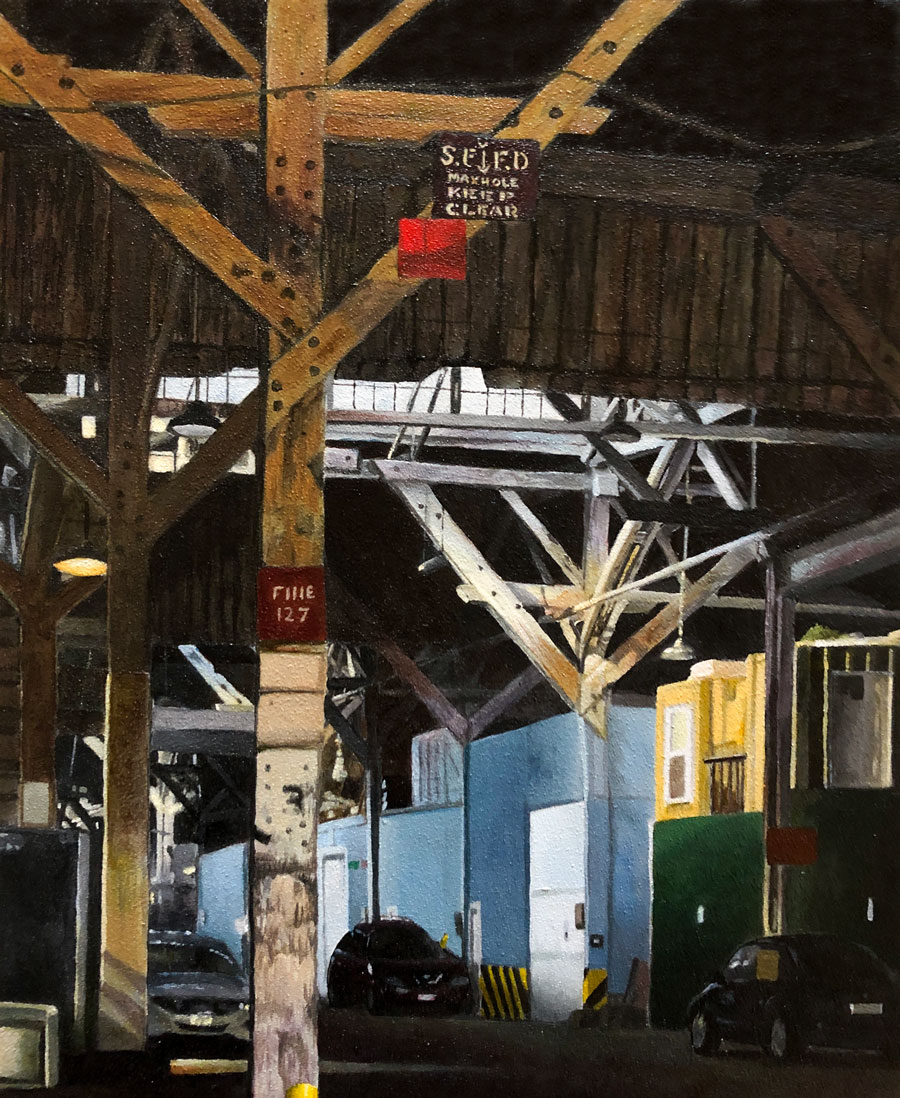
The Urban Landscape with Acrylics lesson series is a comprehensive, step-by-step exploration of how to create a compelling urban scene using acrylic paint and an indirect painting method. Designed for artists who want to improve their understanding of planning, layering, and structure in acrylic painting, this course takes you through each phase of the process — from establishing a solid composition and underpainting through to refined layers of color, detail, and atmospheric effects. The indirect method used in this series emphasizes thoughtful planning, value accuracy, and gradual build-up of paint to achieve depth and harmony in an urban environment.
Materials and Planning
The series begins with a discussion of essential materials and the overall strategy for indirect painting. Students learn how to choose the right brushes, acrylic paints, and supports for the project. This lesson focuses on preparing your workspace and understanding how the indirect method differs from alla prima or direct painting. By concentrating on planning and materials first, students build confidence in how they will approach layering, glazing, and refining the urban scene.
Drawing and Underpainting
With materials in place, the next lesson begins the actual artwork by sketching the basic structures of the urban landscape onto the canvas. Emphasis is placed on proportion, perspective, and architectural accuracy so that buildings, streets, and objects relate believably within the scene. Following the drawing stage, students create an underpainting that establishes the overall value structure. This monochromatic base helps guide later color decisions and ensures that light, shadow, and depth are planned from the start.
Blocking in Local Color
Once the underpainting is established, the series transitions to color application. Students begin blocking in local color — the distinct hues that define each major area of the composition. Working from general to specific, this phase focuses on building harmonious relationships between colors while maintaining clarity in the composition. Students also learn how to preserve key value contrasts as they introduce color into the scene, laying a foundation for richer layers later.
Developing Atmosphere and Depth
Students refine the mid-layers of paint to create atmosphere and spatial depth. Techniques such as glazing, transparent layers, and controlled color transitions help suggest space between buildings, receding streets, and atmospheric perspective. The instructor demonstrates how subtle shifts in hue and value can enhance the sense of distance and structure, making the urban landscape feel more convincing and dynamic.
Detailing and Refinement
As the painting progresses, attention turns to detailing and refinement. Students learn how to bring out architectural features, windows, signs, and textural elements that define the urban environment. Careful use of smaller brushes, contrast adjustments, and precise layering help elevate the painting from a foundational study to a polished work. This lesson reinforces how indirect layering supports clarity without losing depth or richness.
Final Harmonization and Highlights
The final lessons focuses on harmonizing the entire composition and adding finishing touches. Students learn to evaluate their work as a whole, making subtle adjustments to color balance, edges, and lighting effects. Highlights and final accents help unify the painting, enhancing focal points and ensuring the urban scene feels alive and cohesive. By the end of the series, artists have a fully resolved acrylic landscape and a strong grasp of the indirect painting process.
Here's what you'll need...
- Gessoed panel 8" by 10"
- Soft graphite pencil
- Acrylic paints
- Assorted brushes
- Fluid glazing medium

Founder of The Virtual Instructor, artist and teacher. Matt makes learning art easy to understand and enjoyable.
Matt,
What printer do you use.?
Tu,raquel
Your comments at the end of this lesson are so important to hear. That’s what is so valuable from a good teacher, knowing the struggles of the pursuit. My brain can run those messages back at times where I feel stuck, inadequate, or looking to escape from the tedium. And it really helps in the effort to persevere. It can be such a lift to go from what you would rather abandon, to going the distance with it and discovering what you are capable of !!!
Matt,
What kind of photo printer do you use or like?
Rgm
Hi Raquel,
I use a Canon MX 922 printer.
Matt: I’m really starting to “get” this value underlaying…It’s what you call “HUGE”! ha….Maybe now i will get out of this slump i fell ento while trying to teach myself to do watercolor portraits. This is why I enjoy listening to your classes, if not also participating, (which I usually do): because what you teach resonates with all mediums.
OH! just realyzed…it’s my birthday lol
hello Matt! I did finally get some Liqutex heavy body acrylic starter set yesterday and I’m almost
caught up! 🙂 Except…that all i found in the 8×10″ board panel at Michael’s, where I went, was the
Artist’s Loft with the acrylic gesso. It does seem to be working fine and I’m enjoying it! What you teach on the hard
board is new for me also and now i realyze that i can use regular hardboard for stretching
watercolor paper as well.
I also read that some people like to do studies of their paintings on small boards before doing the real one. I do like
this idea as well…
Matt…. Thank you so very very much. I feel such an awesome responsibility to do well but considering the abilities and generosity of the instructor I’m certain to be successful. Many Blessings and Much Gratitude. Bryan
You bet Bryan! It was a pleasure speaking with you!
Raining in Washington State!
Hello Matt,
I hope you and your family are doing well.
I have had a question for a while and always forget when a live lesson. I am hoping you can help me understand where I am while painting when the camera is zoomed into a section but I am at a normal distance seeing the whole reference or artwork.
It is frustrating as due to the neurological part of Lyme disease I lose track of the actual size and my painting or drawing gets distorted.
i am following this lesson because I find it so interesting but due to the architectural aspect along with the indirect painting it could end up looking like a demolition site.
thank you, I know you are busy and will try to remember and condense this for the live class but not sure how.
Teri
Hi Teri,
Are you using the grid technique? I think this will really help you. By using the grid, you can think of each square as its own little drawing/painting. By concentrating on only what you see in each square, you don’t have to worry so much about “the big picture”.
Thank you Matt.
This is a great suggestion and I should actually use the grid more often. i shy off because of my insecurities with past mistakes using it. Laugh on me!
Again, thank you for your help.
As always, Greetings to your family
Teri