
Flower Sketch with Watercolor Pencils

About This Lesson Series...
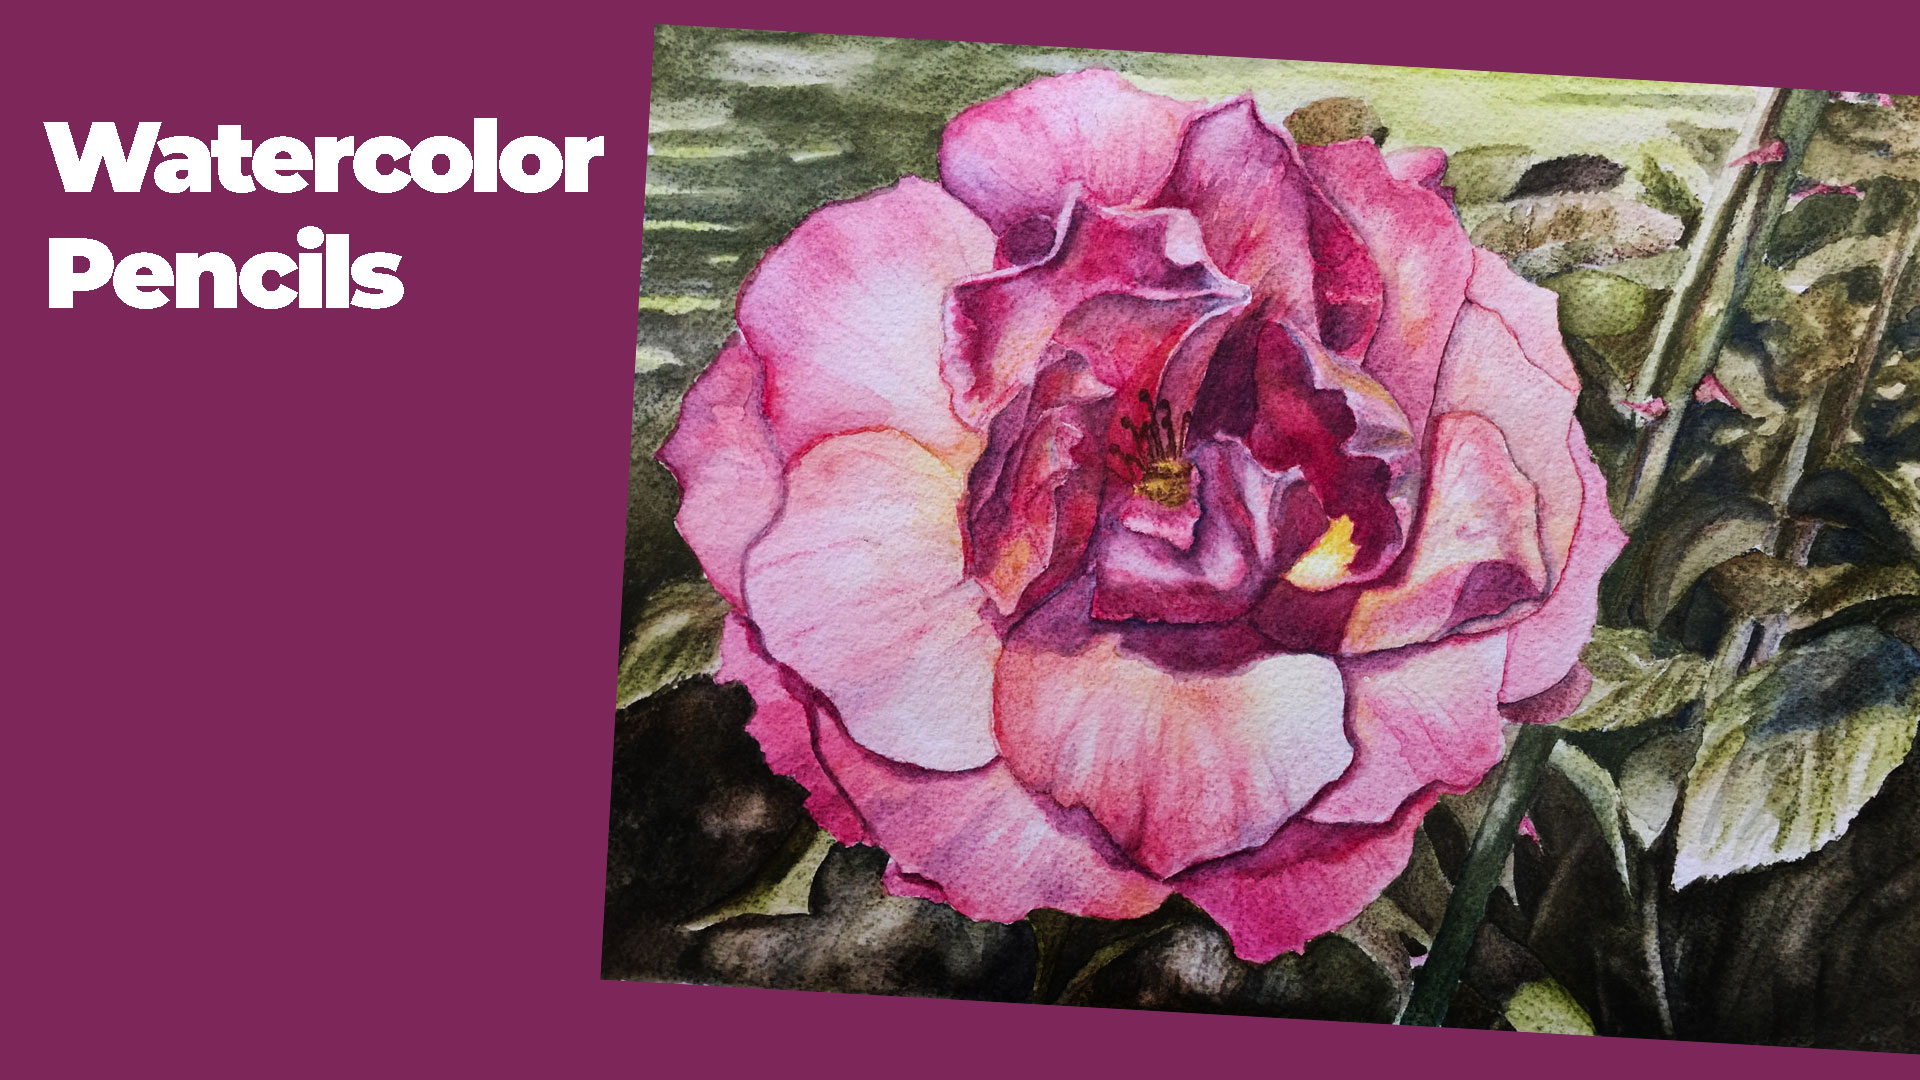
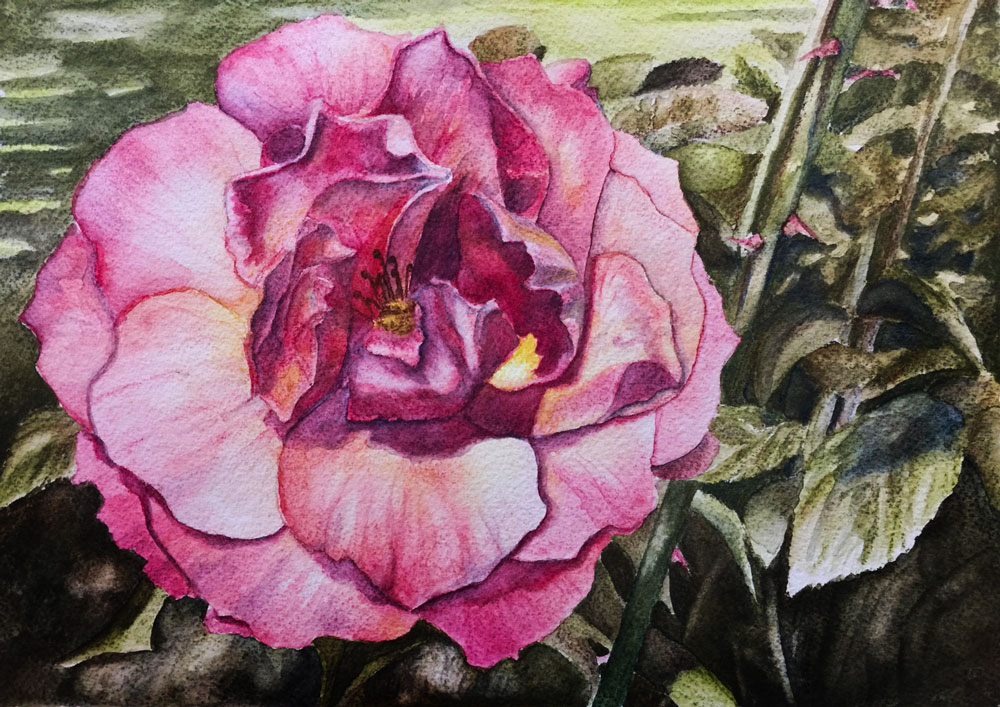
In this engaging lesson series, Matt leads students through the creation of a delicate and expressive drawing of a pink rose using watercolor pencils. Combining the precision of drawing with the fluid qualities of painting, this class offers a unique approach to creating soft, layered color while maintaining control over detail. With a clear, step-by-step structure, students are guided through each phase of the process, making it approachable for beginners while still valuable for more experienced artists.
A Complete Step-by-Step Experience
This five-part lesson series provides over five hours of in-depth instruction, allowing students to follow along from start to finish. Each lesson builds upon the previous one, ensuring that the process unfolds in a logical and manageable way. Matt begins by demonstrating how to create a light contour drawing with graphite, establishing the basic structure and proportions of the rose before introducing color.
This initial drawing serves as the foundation for the entire artwork. By focusing on accuracy early, students are able to approach the coloring stage with confidence, knowing that the underlying structure is sound.
Layering Color with Watercolor Pencils
Once the drawing is in place, students begin applying watercolor pencil pigment in layers. Unlike traditional watercolor, this method allows for precise placement of color before it is activated with water. Matt demonstrates how to build color gradually, using a limited palette to achieve a wide range of hues and values.
This layering process is key to creating the soft pink tones of the rose. By applying multiple light layers rather than one heavy application, students can achieve subtle transitions and a more natural appearance.
Activating Color with Water
A defining feature of watercolor pencils is their ability to transform when water is introduced. After applying dry pigment, students use a brush and clean water to activate the color, turning pencil marks into smooth, painterly washes. Matt demonstrates how to control the amount of water used, ensuring that colors blend without losing important details.
This step bridges the gap between drawing and painting, allowing students to experience the best of both mediums. The result is a soft, luminous effect that is ideal for capturing the delicate nature of flower petals.
Developing Form and Depth
As the painting progresses, attention shifts to creating depth and dimension within the rose. Students learn how to use value changes and color variation to suggest the curvature of each petal. Matt emphasizes the importance of treating each petal as its own form, carefully observing how light and shadow interact across the surface.
Through thoughtful layering and blending, the rose begins to take on a three-dimensional quality. Subtle shifts in color and value help separate overlapping petals and create a sense of realism.
Refining Details and Final Touches
In the final stages of the lesson, students refine the details and enhance the overall image. Additional layers of pencil may be applied after the surface has dried, allowing for sharper edges and more controlled accents. This combination of wet and dry techniques provides flexibility and precision, helping to bring the artwork to a polished finish.
Matt also demonstrates how to unify the piece by adjusting values and colors, ensuring that all elements work together harmoniously.
Build Confidence with Watercolor Pencils
This lesson series is ideal for artists looking to explore watercolor pencils or expand their skills with floral subjects. By the end of the class, students will have created a beautiful pink rose while developing a deeper understanding of layering, color control, and mixed-media techniques.
Whether you are new to watercolor pencils or seeking to refine your approach, this class provides the tools and guidance needed to create soft, expressive artwork with confidence.
Here's what you'll need...
- Coldpress Watercolor Paper (140 lb.)
- Watercolor Pencils
- H Graphite Pencil
- Nylon Brushes
- Kneaded Eraser
- Water

Founder of The Virtual Instructor, artist and teacher. Matt makes learning art easy to understand and enjoyable.
matt,
there is a white sponge like cleaner in the grocery store or walmart…I believe it is called “magic mr.clean”…it serves like the napkin but better to pick up the water…it comes in a small box of 2…retangle shape aand it can be cut at any size…
raquel
The rose looks orange on my screen. Why did you choose reds to paint the flower?
Hi Jackie,
Thanks for your question. The colors are altered in the art in order to increase the contrast and to make the work a bit more aesthetic. It’s okay to deviate from the colors that are observed if you feel that it makes the art more successful. In this case, I like the reds a bit more than the strong oranges. There is still a bit of yellow used with the reds, creating muted oranges in areas.
It still shows up very well
I am a relatively new member and new at art and am enjoying this instruction very much. I recently finished watching all 5 recorded lessons on this topic and thought I would let you know how much I enjoy this in-depth instruction. During the sessions, I heard you express some concern that your students might think they were too long, but I think you give a very realistic view of how long the process truly takes. We have access to plenty of speed paintings and abbreviated sessions from other sources, e.g., YouTube. Those have been helpful to me, but also make me think I must be working slowly. Your lessons clear up any misconception like that. I also liked your comment to view each part of the painting as an individual painting, I.e., that each petal can be considered an individual painting. I started a different flower in watercolor pencils after watching this, and my patience is much greater viewing each petal as an individual painting. So today, I finished four paintings and think I am well on my way to completing the project. I also like attempting different mediums so your instruction is excellent for me from that perspective in that you appear to offer all of them. Thanks, keep up the good work, and know that you have students who appreciate your taking the time to present something completely.
Thanks Diana!!!!
Matt, why do you use nylon brushes for this? I have a natural hair brush (Winsor Newton sable), will that work just a well? thank you!
Hi Matt, Can Derwent Inktense pencils be used instead of the watercolor pencil?
hi