
The Charcoal Drawing Course: Animal Portrait

Course Curriculum
Lesson Description
The Charcoal Drawing Course: Animal Portrait lesson series offers a focused and immersive experience in rendering expressive animal portraits using charcoal. In this series, students create a compelling drawing of a chimpanzee on gray textured paper, combining vine charcoal, compressed black charcoal, and white charcoal. The lessons guide learners through observation, structure, value, and refined mark-making, helping them translate a three-dimensional subject into a visually engaging, finished portrait.
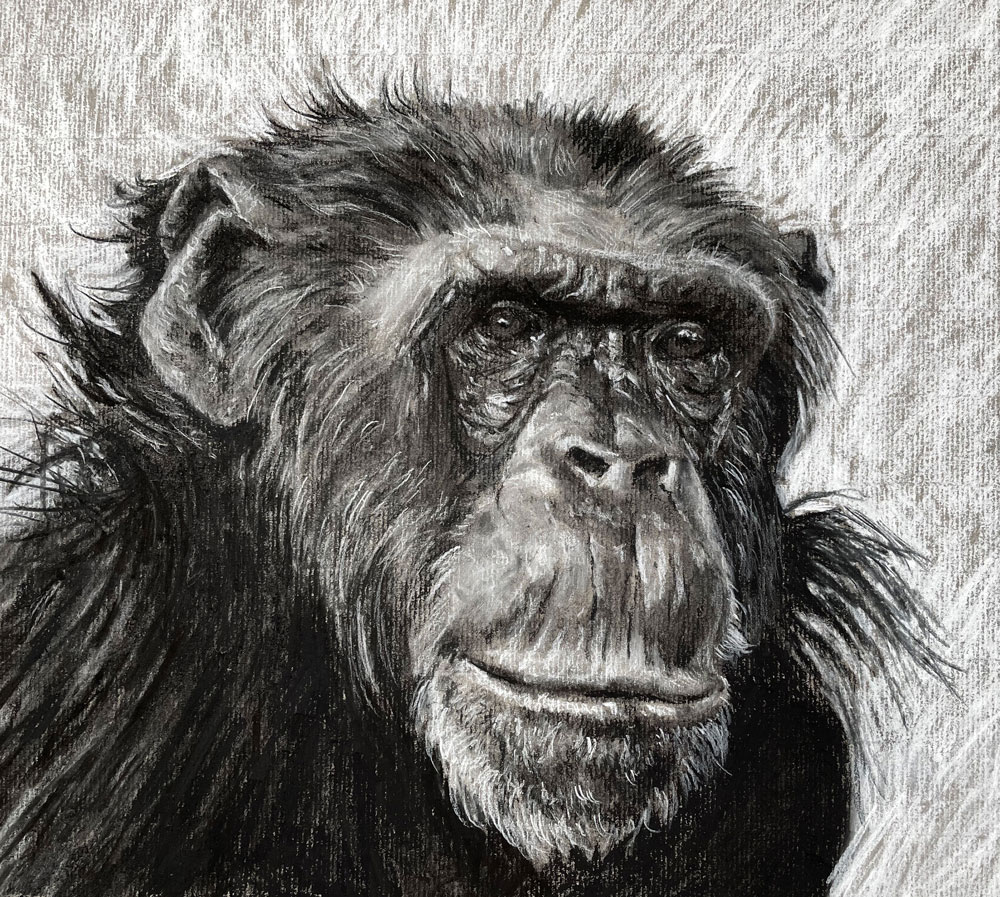
Lesson 1: Planning and Observation
The series begins with careful observation and planning. Students are encouraged to study the unique features, proportions, and personality of the chimpanzee before making any marks. This lesson emphasizes understanding the subject’s anatomy, bone structure, and the way light interacts with its form. Through thoughtful observation, artists learn how to break down complex features into simpler shapes, a step that ensures accuracy and confidence as the drawing develops.
Lesson 2: Laying Out the Drawing
Once the foundational study is complete, students lightly sketch the chimpanzee on gray textured paper using vine charcoal. This early phase focuses on proportion, placement, and basic contour lines. Using a softer medium like vine charcoal allows for gentle adjustments and flexible mark-making, giving students space to refine the underlying structure without committing to dark values too early. This preparatory stage helps ensure that the portrait’s layout feels balanced and well-composed before deeper value work begins.
Lesson 3: Establishing Values
After the initial sketch is in place, the lesson shifts toward establishing strong value relationships. This stage introduces the use of compressed black charcoal to build depth and contrast. Students learn how to block in dark shadow areas while preserving midtones and planning for highlights. Careful attention is paid to understanding where the strongest darks and softest lights should occur, creating a dynamic range that gives the chimpanzee’s portrait dimensional presence.
Lesson 4: Refining Form and Texture
With the value structure established, students begin refining the chimpanzee’s features, using a combination of vine and compressed charcoal to articulate fur texture, facial contours, and expression. Techniques such as controlled hatching and blending help integrate forms while maintaining surface texture. The instructor demonstrates how to develop fine details that enhance realism without sacrificing the overall atmosphere of the portrait.
Lesson 5: Integrating White Charcoal Highlights
A defining aspect of this series is the incorporation of white charcoal to create highlights and enhance three-dimensional form. On gray textured paper, white charcoal is used to lift values and emphasize light striking the chimpanzee’s fur, brow ridge, and other facial details. This lesson teaches how to balance darks and lights intentionally, refining edges and adding final visual interest that makes the portrait feel alive.
Completing the Portrait
In the final stages, students focus on unifying the value range, strengthening contrasts, and refining subtle details that bring the portrait together as a cohesive whole. By the end of the series, students walk away with a finished chimpanzee drawing and a deeper understanding of how charcoal techniques — from broad value application to delicate highlights — can be combined to capture character, texture, and form with confidence and expression.
Lesson Materials
- Vine/Willow Charcoal
- Compressed Charcoal Pencil
- White Compressed Charcoal
- Kneaded Eraser
- Vinyl Eraser
- Blending Stumps or Tortillions
- Gray Ingres Drawing Paper
Lesson Resources
References
Photo Reference
Finished Drawing
Download eBook

Founder of The Virtual Instructor, artist and teacher. Matt makes learning art easy to understand and enjoyable.
Awwww this is lovely, I think I’ll add this to my list, doing my 2023 list lol I just finished my Elvis portrait and it’s on its way to Salt Lake City 😀 I’m huge Elvis fan and I donated an Elvis commission as we in a group and the guy who runs it does Elvis quizzes.
Go I drop myself in at the deep end, after 4 failed attempts, number 5 started going well and I’m happy with it.
I hope you all had a lovely Christmas and all the best for 2023 xxxx
Is it possible to download video please? If yes, how?
thanks
I have now time to get back into my pastel and charcoal. Looking forward to following and see what I can do.
Thanks.
I have only taken up art as a retirement hobby bearing in mind that I didn’t even know of half the materials used by artists, but I must say I am enjoying this course so much and cannot believe that I can actually create such beautiful artwork by just following your tutorials. Thank you so much