
The Charcoal Drawing Course: Basic Forms

Course Curriculum
Lesson Description
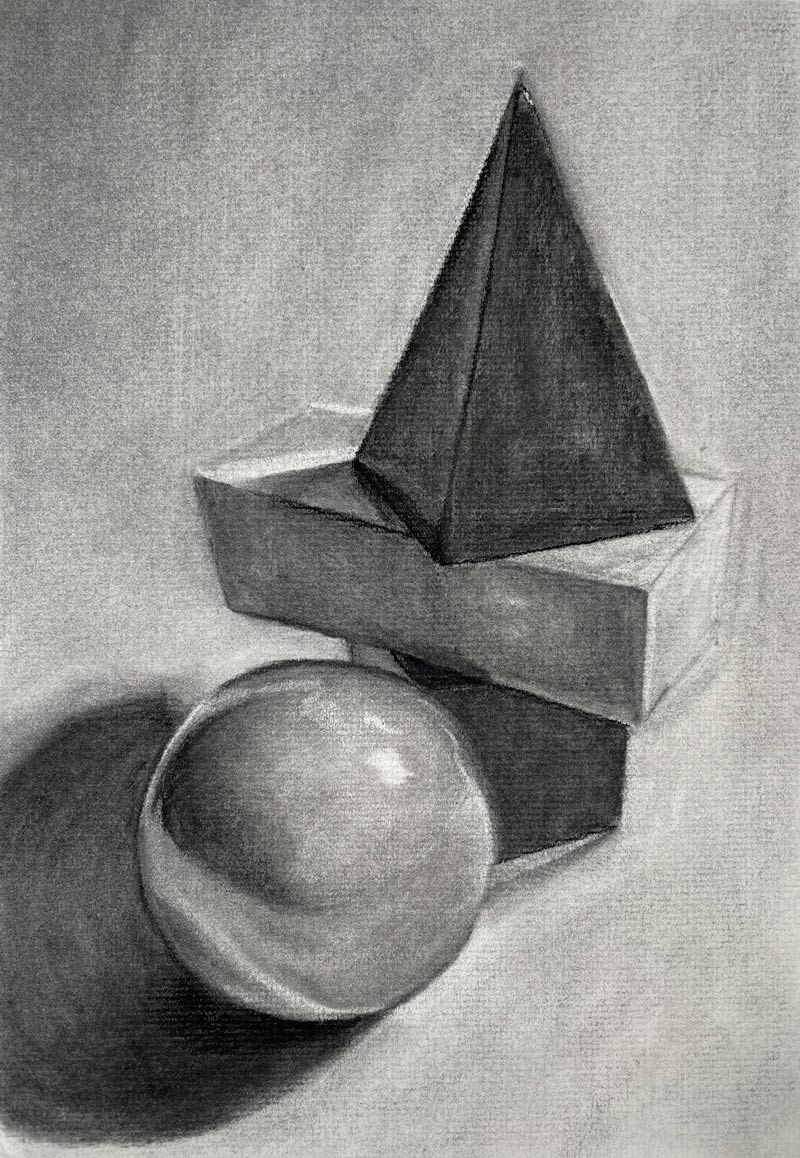
The Charcoal Drawing Course: Basic Forms lesson series is a core module in The Charcoal Drawing Course that teaches artists how to draw simple three-dimensional shapes from observation using charcoal. This foundational series focuses on understanding value, light, and form while working with vine (willow) charcoal and compressed charcoal pencils on charcoal paper. Through four structured lessons, students develop key charcoal techniques that strengthen their ability to render volume, depth, and tactile surfaces in a realistic drawing.
Lesson 1: Value
The series begins with an introductory lesson on value — the range of light and dark in a drawing — which is fundamental to creating the illusion of three-dimensional form. Students learn how value defines light, midtones, and shadows, and how these elements interact when a light source strikes basic forms such as spheres, cubes, and cylinders. Emphasis is placed on seeing and comparing values rather than merely drawing shapes, encouraging students to build a solid value structure before refining details.
Lesson 2: Contours and Mapping
In the second lesson, students begin to establish accurate contours by using mapping techniques. This step helps ensure that the shapes and proportions of the forms are correctly placed within the picture plane. A light application of vine charcoal is used to sketch outlines and block in broad shadow areas. Mapping also supports later refinement by providing a visual framework that keeps the drawing cohesive as values and details develop.
Lesson 3: Refining
Once the basic layout and initial values are in place, students progress to refining the drawing. This lesson demonstrates how to deepen shadows, smooth transitions between values, and clarify the structure of the forms using both vine and compressed charcoal. Tools such as blending stumps or tortillons help integrate charcoal for smooth gradients, while erasers are used to pull out highlights and correct value relationships. This stage reinforces how layering and blending contribute to a convincing sense of form.
Lesson 4: Finishing Touches
The final lesson focuses on completing the drawing by enhancing contrast, sharpening edges, and attending to subtle value adjustments that unify the composition. Students learn how to bring balance and polish to their charcoal rendering by strengthening core shadows and highlights. The lesson also shows how thoughtful refinement brings three-dimensional accuracy to still life forms on paper.
Foundational Skills for All Charcoal Drawing
By the end of the Basic Forms series, students have gained confidence in observing and translating light and form into charcoal. The techniques taught — from mapping contours and layering values to refining form and controlling contrast — establish a strong foundation for more complex subjects later in the course, including landscapes, portraits, and detailed observational drawings.
Lesson Materials
- Vine/Willow Charcoal
- Compressed Charcoal Pencil
- Charcoal Paper
- Kneaded Eraser
- Vinyl Eraser
- Blending Stumps or Tortillions
Lesson Resources
References
Photo Reference
Finished Drawing
Download eBook

Founder of The Virtual Instructor, artist and teacher. Matt makes learning art easy to understand and enjoyable.
I imagine art students start out with charcoal, but learning on my own I started out with graphite, so charcoal is a new medium to me. Consequently, I appreciate seeing how you use the vine charcoal and charcoal pencil together to create an effect. I look forward to more lessons and more diverse subject matter.
I am looking for the Video for Charcoal drawing of a face started it’s couple months ago.
Thanks for your help. Cheers Jan Van Eyck
this is really great… i love charcoal… more please… human figures and horses maybe?
I started today as full membership, and charcoal is incredibly delicate. Nevertheless, since I am on the process of completing 25 days to better drawing, it is going to be fun. My only problem is that I cannot find the charcoal pencils I bought, in the midst of my drawing room.
Really enjoying the charcoal course. I find I need to remind myself to slow down and focus on one form at a time until my skill improves. The drawing course was an excellent prequel. Thank you.
Matt, I heard you say on “Getting Sketchy” that this course was not getting a lot of traffic on your website. Well, I’ve waited for this course and I love it. I started using graphite, am currently learning colored pencils and have experimented with charcoal–and I love it! It is such a rich, flexible, easy medium and I, for one, am delighted you’re doing this. I can’t wait to see the portrait you’re developing now using white charcoal on black paper. Thanks so much for doing this!
Hi Matt! This is my first course on your website. I’m finding it, oh-my-gosh-hard to even get the form shapes on there in the correct proportions. I don’t have any experience in drawing prisms or pyramids or spheres, and shading them. I thought if you drew a rectangle, brick shape that the angles on each end would be the same, and would be the same length. Not so at all. Think I might need to stop here and go back and see if I can find something that gives me some more basics. If you have any recommendations? Let me know.
This lesson alone was worth the cost of annual membership! Thank you so much
By far this is THE best tutorial on shading, shadows, and values. I’ve always struggled getting it right, whether it is charcoal, graphite or other mediums. Now I can see the light through the cloud of charcoal!
Awesome Donna!